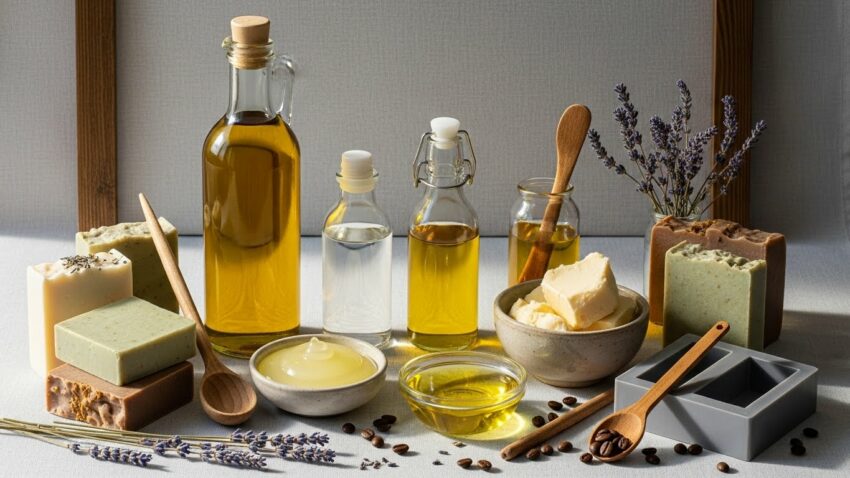
If you’re just getting into cold process soap making, exploring additives is one of the best ways to customize your bars and make them truly unique. From silky goat milk to earthy clays or even a swirl of honey, the number of possibilities can feel almost endless. Over the years I’ve experimented with many different…
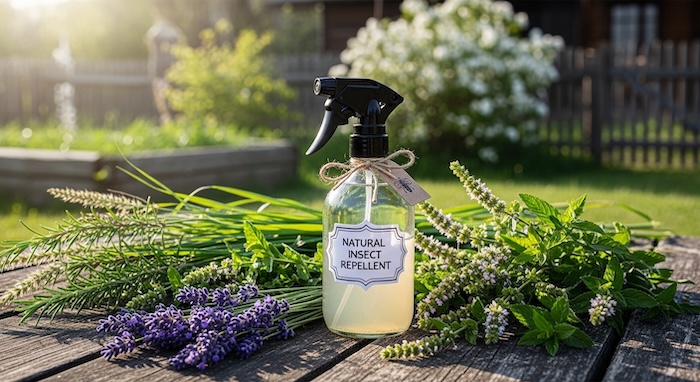
DIY Natural Insect Repellent Recipe (That Actually Works)
Spending time outside is one of the best parts of spring and summer—especially when you live a more off-grid or homesteading lifestyle. But mosquitoes, blackflies, and no-see-ums can make even the nicest evening miserable. Like many people, I used to rely on store-bought sprays. But most of them contain DEET, which—while effective—isn’t something I love…
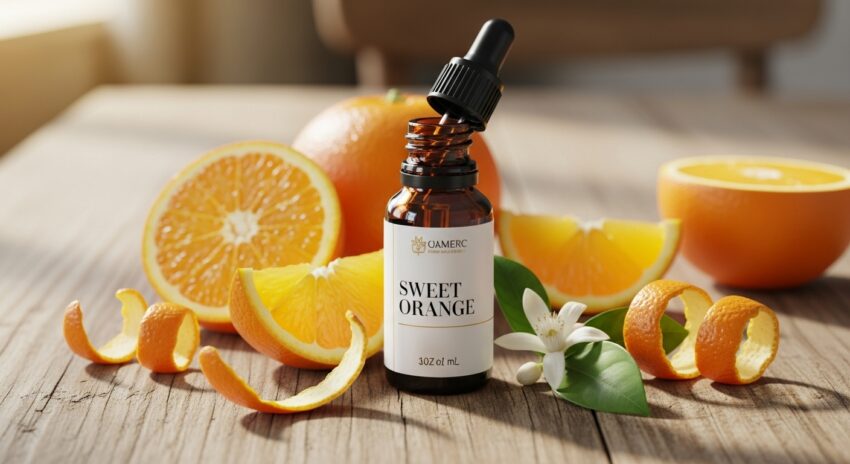
🍊 Sweet Orange Essential Oil Benefits, Uses & Soap Making Guide
Overview: What Is Sweet Orange Essential Oil? Sweet Orange essential oil is a bright, cheerful citrus oil known for its ability to support uplifted mood, natural cleaning, fresh-smelling soaps, and everyday wellness. Cold-pressed from orange peels, it has a sweet, juicy aroma that is widely loved by both beginners and experienced essential oil users. Because…
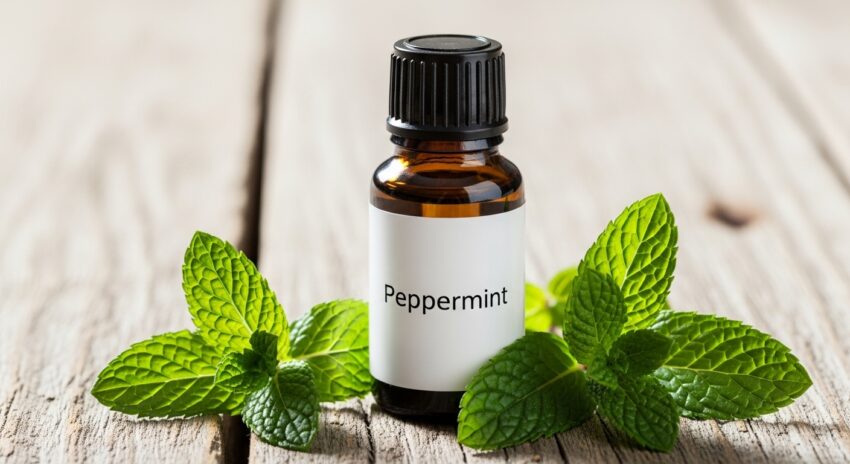
🌿 Peppermint Essential Oil Benefits, Uses & Soap Making Guide
Overview: What Is Peppermint Essential Oil? Peppermint essential oil is a crisp, cooling oil known for its ability to support mental clarity, scalp health, muscle comfort, digestion, and natural cleansing. Its refreshing aroma and strong performance make it one of the most recognizable and widely used essential oils. Peppermint essential oil is especially popular in…
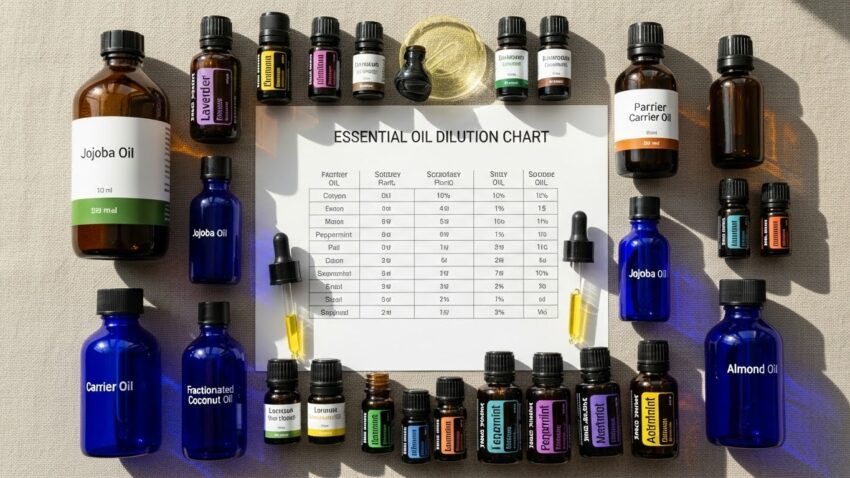
Essential Oil Dilution Chart for Skin, Hair & Soap Making
What Is Essential Oil Dilution? Essential oils are highly concentrated plant extracts. Proper dilution is essential for safe use, especially when applying oils to the skin, hair, or using them in soap making. Dilution means mixing essential oils with a carrier oil, base product, or soap formula to reduce the risk of irritation, sensitivity, or…

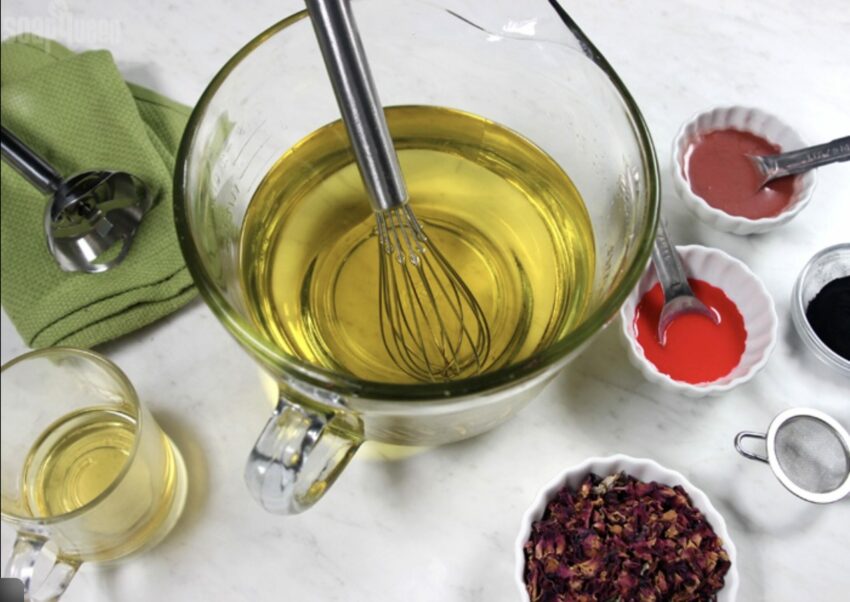
Cold Process Soap Making: A Beginner’s Guide
Cold Process Soap Making: A Beginner’s Guide to Making Soap From Scratch Making soap from scratch may seem intimidating at first, but cold process soap making is one of the most rewarding skills you can learn. It blends creativity with chemistry and gives you complete control over every ingredient that touches your skin — which…
Soap Making Oils – 10 of the Best Oils to Use
How Soap Making Oils Affect Hardness, Lather, and Skin Feel Soap making oils have different molecular compositions, and it’s these fatty acids that determine how a finished bar of soap performs. Hardness, lather, longevity, and skin conditioning all depend on the oils you choose and how you balance them. Once a soap maker understands how…
How To Use A Soap Lye Calculator Safely
A beginner-friendly guide to accurate, confident cold process soap making Using a soap lye calculator is one of the most important safety steps in soap making. Whether you’re brand new or refining your recipes, a lye calculator ensures the correct amount of sodium hydroxide (NaOH) is used so your soap is safe, balanced, and skin-friendly….
How to Make Soap Without Lye (What “Lye-Free Soap” Really Means)
Many beginners search for how to make soap without lye because working with sodium hydroxide can feel intimidating. While that concern is completely understandable, there’s an important truth to understand upfront: 👉 There is no such thing as true soap without lye. At some point in the soap-making process, lye is always used to create…

🧼 Layered Swirl Technique for Cold Process Soap
Layered Swirl: Adding Dimension to Cold Process Soap If you love artistic soaps that show off both color and texture, the Layered Swirl technique is a must-try. This design combines clean, defined layers with fluid swirls — giving each bar depth, contrast, and a truly handcrafted feel. Whether you’re going for bold color bands or…