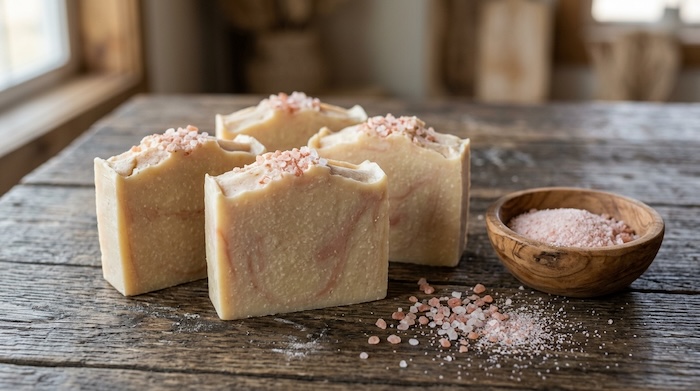
If you’ve never tried making salt soap, it’s a little different from a traditional bar of handmade soap. Adding salt creates a firm, dense bar with a distinctive feel, and Himalayan pink salt gives the soap a beautiful appearance.
For this recipe, I chose Himalayan pink salt, but you can use regular salt as well. I prefer finely ground salt mixed into the soap, and sometimes sprinkle a little coarse salt on top for decoration.
One thing to remember is that salt soap can harden much faster than regular cold process soap, so it’s important to have your mould ready before you begin.
Why You’ll Love This Salt Soap Recipe
- Firm, long-lasting bars: Salt creates a particularly hard bar of soap.
- Simple ingredients: Made with coconut, palm, olive, and castor oils.
- Beautiful appearance: Himalayan pink salt adds a subtle decorative touch.
- Easy to customize: Use fine sea salt or Himalayan pink salt, depending on your preference.
Salt Soap Recipe at a Glance
| Recipe Details | Information |
|---|---|
| Soap-making method | Cold process |
| Main ingredient | Himalayan pink salt or sea salt |
| Difficulty | Intermediate |
| Fragrance | Unscented unless fragrance is added |
| Colour | Varies with the salt used |
| Approximate curing time | 4–6 weeks or longer |
| Main oil | Coconut oil |
| Batch size | 738 grams of base oils |
| Salt amount | 350–500 grams |
Salt Soap Ingredients
This recipe uses a high percentage of coconut oil, which helps create lather even with the large amount of salt added to the soap.
Base Soap Ingredients
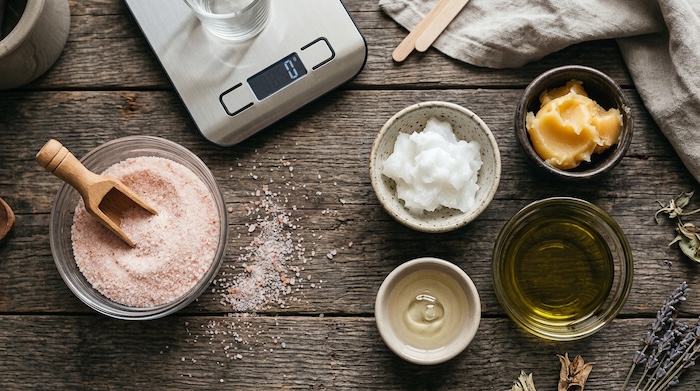
- 553 grams Coconut oil (75%)
- 74 grams Palm oil (10%)
- 74 grams Olive oil (10%)
- 37 grams Castor oil (5%)
- 118 grams Lye crystals (sodium hydroxide)
- 1 cup Water (approximately 237 grams)
Recipe safety note: These are my original recipe measurements. Before making the soap, confirm the lye amount and intended superfat with a reliable soap calculator. The formula has not been independently verified here.
Accurate measurements are important when making cold process soap, especially when working with lye. I always weigh my ingredients rather than measuring by volume. This digital kitchen scale is the one I use when measuring my soap-making ingredients.
Salt
- 350–500 grams finely ground Himalayan pink salt or regular sea salt
- Optional: A small amount of coarse salt to decorate the tops
I prefer using finely ground Himalayan pink salt in the soap itself because coarse crystals can make the finished bars feel scratchy against the skin. If you’re having trouble finding it locally, you can buy fine Himalayan pink salt on Amazon
Avoid using Epsom salt or Dead Sea salt as direct substitutes in this recipe. Their different mineral compositions can affect how the soap behaves.
If you’re wondering why different oils are used in handmade soap, read my guide to the best oils for soap making.
How to Make Himalayan Pink Salt Soap
This recipe uses the traditional cold-process soap-making method, with the salt added once the soap batter reaches light trace.
If you’re new to soap making, follow my step-by-step cold-process soap-making tutorial for preparing your lye solution, combining your oils, and bringing soap to trace.
For this salt soap recipe, there are a few additional things to remember.
1. Prepare your salt and mold. Measure the salt before you begin and have your soap mold ready. Salt soap can thicken and harden quickly, so you don’t want to be searching for supplies once the soap reaches trace.
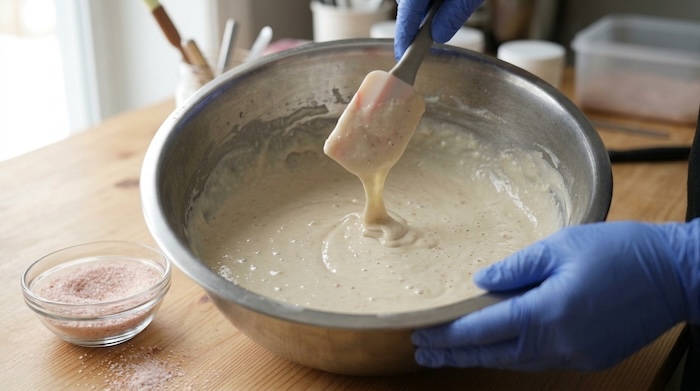
2. Add the salt. Once your soap reaches light trace, gradually stir in the finely ground salt. Mix thoroughly so the salt is evenly distributed throughout the soap batter.
3. Pour into your mold. Work promptly, as the batter may become thick. If you like, sprinkle a small amount of coarse Himalayan pink salt over the top for decoration.
4. Watch the soap as it hardens. Salt soap can become firm much sooner than ordinary cold process soap. If you’re using a loaf mold, check it frequently and cut the bars while they’re still soft enough to slice without crumbling. Individual cavity moulds are another good option because you won’t need to cut the finished bars.
Individual silicone soap molds are another good option for salt soap because you won’t need to cut the finished bars. They’re especially useful if you’re concerned about the soap hardening before you can cut it.
My Tips for Making Salt Soap
Salt soap behaves differently from regular handmade soap, so there are a few things worth keeping in mind.
Use fine salt in the batter. Fine salt distributes more evenly and is less likely to create a rough, scratchy bar. I like to save the coarse salt for decorating the top.
Be careful when cutting. Salt bars can become very hard in a short time. Waiting too long to cut a loaf may cause the bars to crumble or break.
Expect a different lather. Salt can reduce lather, which is why salt soap recipes often contain a higher percentage of coconut oil. Because coconut oil is highly cleansing, the superfat level also needs to be considered carefully when calculating the recipe.
Curing Your Salt Soap
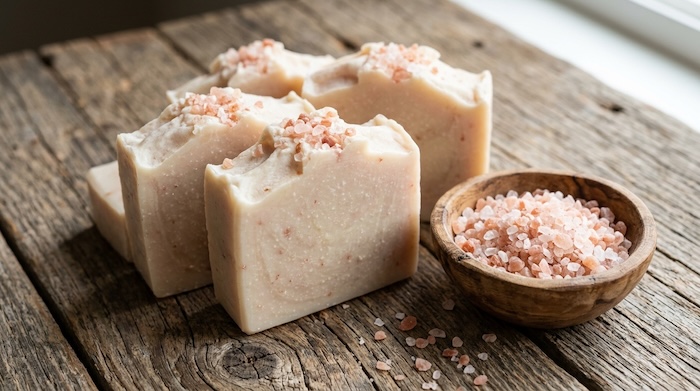
Allow your salt soap to cure in a dry, well-ventilated area for at least 4–6 weeks. Some soap makers prefer a longer cure for salt bars to allow them to become milder and longer-lasting.
For more information, read my guide on how long handmade soap should cure.
More Handmade Soap Recipes to Try
If you enjoy experimenting with different ingredients in handmade soap, you might also like some of my other recipes.
Try my Tea Tree and Eucalyptus Soap Recipe for a refreshing herbal soap with a soft green colour.
You might also enjoy my Coffee Soap Recipe if you’d like to make an exfoliating soap that’s particularly useful after gardening or working outdoors.
Or browse my complete Soap Making Recipes collection for more handmade soap ideas.
Soap Making Safety Reminder: Always wear suitable protective equipment when working with sodium hydroxide and verify your recipe with a reliable soap calculator. Salt soap can be highly cleansing, especially when made with a large percentage of coconut oil. Avoid using coarse, sharp salt crystals directly against sensitive skin.
Affiliate Disclosure: This article may contain affiliate links. As an Amazon Associate, I earn from qualifying purchases at no additional cost to you.
Updated October 2026
© 2016 – 2026, Tes. All rights reserved.