Introduction
If you’ve ever wanted to create mesmerizing patterns that flow through your soap like ribbons of color, the hanger swirl technique is a must-try. This intermediate-level swirl gives handmade soaps a professional, marbled appearance that looks complex but is surprisingly achievable once you understand the timing and motion.
Whether you’re experimenting with vibrant micas or gentle clays, the hanger swirl transforms simple soap into a work of art — perfect for gifting, selling, or displaying proudly on your shelf.
What Is the Hanger Swirl Technique?
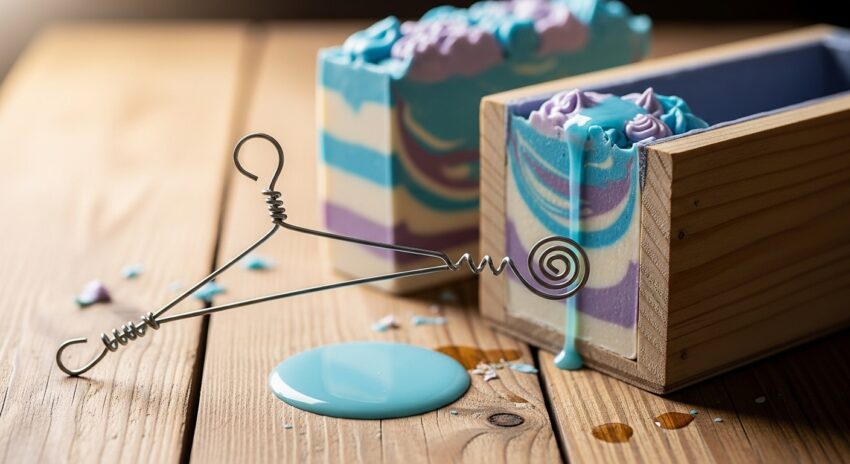
The hanger swirl is named after the tool often used — a bent wire hanger or specialized swirling tool that fits inside your soap mold. By moving it through the poured soap batter, you create graceful internal patterns that appear when the loaf is cut.
This method works best in a loaf mold, where you can layer multiple colors and manipulate them inside the soap before it sets.
Materials You’ll Need
- Safety goggles and gloves
- Stick blender
- Digital scale and thermometer
- Lye solution and oils (your favorite cold process recipe)
- Soap mold (loaf-style works best)
- Colorants (micas, clays, or natural pigments)
- Fragrance or essential oils
- Spatulas, measuring cups, and mixing bowls
- Wire hanger or hanger swirl tool
- Rubbing alcohol in spray bottle
Tip: Have everything measured and ready before you start. The hanger swirl is all about timing — you need to pour and swirl while the batter is still fluid.
Step-by-Step: How to Do the Hanger Swirl
Step 1. Prepare Your Soap Batter
Follow your cold process recipe as usual. Once your oils and lye water have cooled to around 95–110°F, combine them and bring to light trace. Thin trace ensures the colors will move and swirl beautifully.
Step 2. Divide and Color
Split your soap batter into separate containers for each color. Add your chosen colorants and mix well. You can go bold with contrasting hues or keep it subtle with tonal shades.
Step 3. Add Fragrance
Add your fragrance or essential oils to each portion. Be mindful — some scents accelerate trace. If that happens, work quickly.
Step 4. Layer the Colors
Pour alternating layers of color into your loaf mold. You can alternate straight layers, angled pours, or random splashes depending on the effect you want.
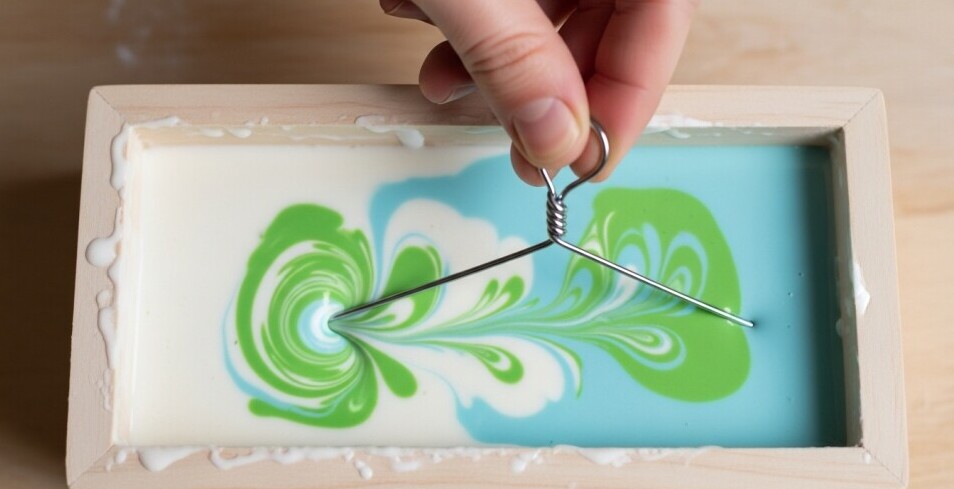
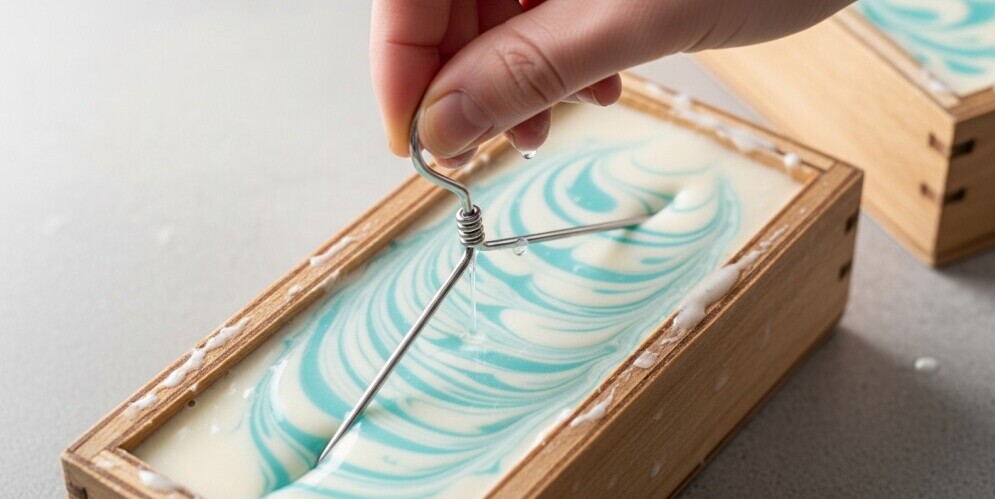
Step 5. Insert the Hanger
Gently lower your hanger swirl tool into the mold, stopping just above the bottom. Move it in a figure-eight or “wave” motion from one end of the mold to the other. Avoid over-mixing; a few graceful passes are enough.
Step 6. Tap and Finish
Tap the mold lightly on your counter to release air bubbles. If desired, swirl the top layer with a skewer or spoon for extra design interest.
Step 7. Insulate and Cure
Cover and insulate your mold for 24–48 hours. Once firm, unmold and slice the loaf to reveal the stunning internal swirl. Allow bars to cure 4–6 weeks before use.
Pro Tips for Perfect Swirls
- Fluid Batter: Keep your trace thin for more movement.
- Color Contrast: Use at least one light and one dark color for definition.
- Fragrance Test: Avoid fragrance oils that thicken batter too quickly.
- Consistent Depth: Keep your hanger’s depth consistent throughout the swirl for even design.
- Experiment: Try double swirls (swirling twice from opposite directions) for more complexity.
Natural Color Ideas for Hanger Swirls
- Green & Cream: Spirulina + kaolin clay
- Rose & White: French pink clay + titanium dioxide
- Blue & Charcoal: Indigo + activated charcoal
- Yellow & Orange: Annatto seed + paprika infused oil
These natural hues not only look stunning but also reflect a gentle, eco-friendly soap aesthetic.
Why This Technique Is Worth Mastering
The hanger swirl bridges artistry and chemistry. Every cut of your loaf reveals a unique pattern — no two bars are ever identical. It’s an ideal technique for soap makers ready to elevate from basic layers to sophisticated visual effects.
Conclusion
The hanger swirl is a satisfying way to bring depth, elegance, and artistry into your cold process soap. With just a few simple tools and mindful timing, you’ll turn ordinary soap into extraordinary creations.
Ready to try it? Grab your hanger tool, mix your favorite colors, and swirl your way into a soapmaker’s masterpiece!
© 2025 – 2026, Tes. All rights reserved.