✨ What Is Drop Swirling?
Drop swirling is one of the most captivating and beginner-friendly cold process soap techniques. It involves pouring colored soap from different heights into a base layer, allowing gravity and motion to create beautiful, natural swirl patterns inside the bar.
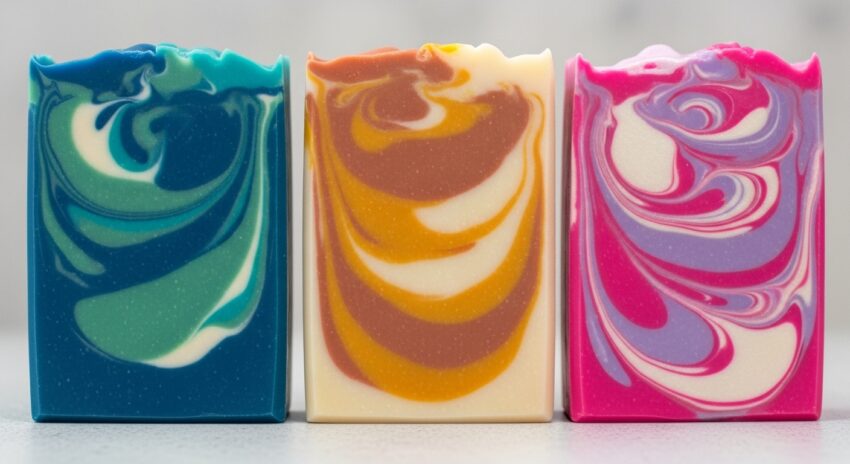
What makes it special is its unpredictability—every bar looks unique, with colors drifting, twisting, and dropping through each layer like a watercolor painting in motion.
🧴 Why Try the Drop Swirl?
This technique is ideal for soap makers who want:
- Beautiful results with minimal tools
- Distinct, natural color separation
- A way to experiment with trace and pour height
- Endless creative options — from wispy, airy designs to bold, chunky swirls
Whether you’re crafting a tropical lime swirl, floral pastel bar, or dramatic charcoal and cream design, the drop swirl technique brings a dynamic, artistic touch to your soap collection.
🧪 Materials You’ll Need
Before you begin, prepare your workspace and supplies:
- Safety gear: gloves, goggles, apron
- Stick blender
- Soap mold (lined, if wood)
- Rubber spatula or spoon
- Colorants or micas (choose 2–3 for best results)
- Fragrance or essential oil
- Separate containers for dividing the soap batter
- Thermometer (for temperature control)
⚗️ Step-by-Step: How to Do a Drop Swirl in Cold Process Soap
1. Prepare Your Soap Batter
Mix your oils and lye water as usual and bring the soap batter to a thin trace. Thin trace is key — it allows the colors to flow smoothly and create elegant, wispy swirls.
2. Divide and Color
Pour ¼ to ½ of the batter into separate containers.
Add your chosen micas, oxides, or natural colorants to each portion and blend until evenly mixed.
3. Pour the Base Layer
Pour your main base color into the mold first. This layer forms the foundation your other colors will drop into.
4. Drop the Colors
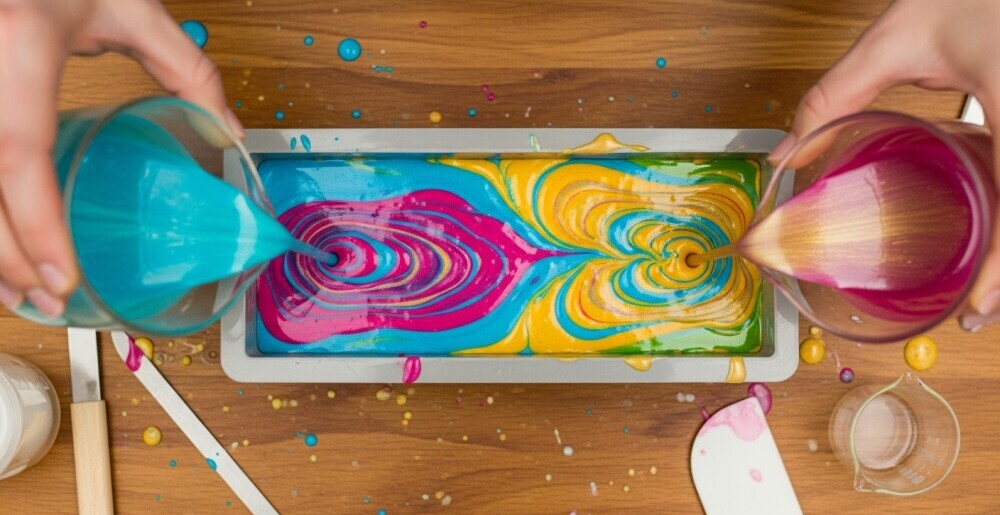
Using a spouted container or measuring cup, pour each colored soap from varying heights above the mold.
- Higher pours = deeper, more dramatic drops
- Lower pours = subtle, delicate swirls
Alternate colors and pour locations for natural movement and variation.
5. Experiment With Trace
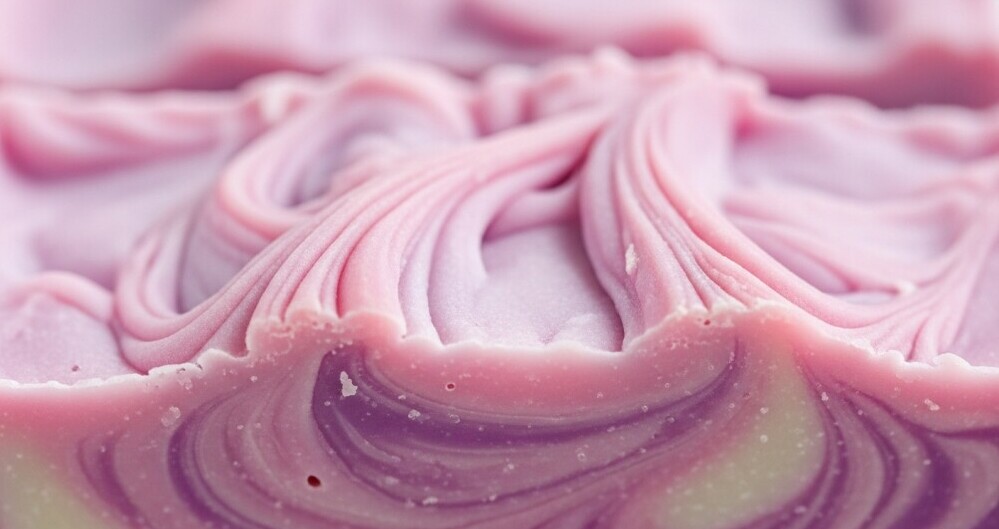
Thinner batter produces soft, wispy designs.
Thicker batter creates bold, high-contrast ribbons of color.
Try a few variations to see what style you love best.
6. Finish the Top

Add texture or a final swirl on top using a spatula, spoon handle, or skewer.
Optional: sprinkle botanicals, salt, or glitter for an artistic finish.
7. Cure and Unmold
Allow your soap to harden for 24–48 hours before unmolding. Slice the loaf to reveal your intricate drop swirls, then cure for 4–6 weeks for a long-lasting, gentle bar.
🌈 Pro Tips for Perfect Drop Swirls
- Use fragrance oils that don’t accelerate trace.
- Keep your temperatures consistent (around 95–110°F).
- Plan your color palette before you start pouring.
- Try complementary or gradient shades for visual harmony.
- Pour confidently but slowly — let gravity do the work.
🧼 Project Inspiration: Lime Drop Swirl Soap
For a fresh start, try a Lime Drop Swirl Soap:
Use white, green, and yellow hues with a lime essential oil blend for a cheerful, energizing design perfect for spring and summer.
© 2025 – 2026, Tes. All rights reserved.