Skip to content

Making Soap Naturally

Natural Soap Making Recipes, Tutorials & Ingredient Guides

Menu
  • Baby Skin Care
  • Bath and Body
  • FAQ
  • Ingredients
  • Scents & Fragrance
  • Soap Bases
  • Soap Business & Selling
  • Soap Recipes
  • Soap Supplies
Menu

đź§Ľ Chopstick Or Skewer Swirl: Elegant Lines In Cold Process Soap

Posted on 11-0701-06 by Tes

Introduction

The chopstick or skewer swirl technique is one of the simplest yet most striking ways to add artistic flair to your cold process soap. It’s ideal for beginners and seasoned soap makers alike—requiring just a thin tool, a steady hand, and a little imagination. This method lets you draw graceful lines, curves, or intricate patterns directly in your soap batter for a one-of-a-kind design every time.


What You’ll Need

  • Prepared cold process soap batter at thin to medium trace
  • Soap mold (lined if wooden)
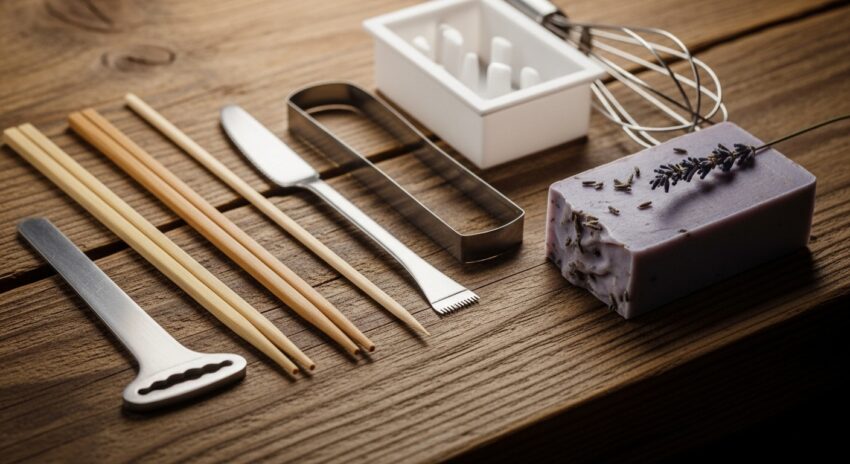
  • Chopstick, bamboo skewer, or thin dowel
  • Colorants (mica, clay, or natural pigments)
  • Small containers for mixing colors
  • Spatula or spoon
  • Fragrance or essential oil (optional)
  • Gloves and safety gear

How to Make a Chopstick or Skewer Swirl

1. Prepare Your Soap Base

Mix your lye solution and oils according to your recipe. When your batter reaches a thin trace, divide it into separate containers for each color.

2. Add Color and Fragrance

Blend your chosen colorants into each portion. Add fragrance or essential oil if desired, but avoid accelerating blends so you have plenty of swirling time.

3. Layer the Soap in the Mold

Pour alternating colors into your mold—either in layers, stripes, or blobs—depending on your desired pattern.

4. Create the Swirl

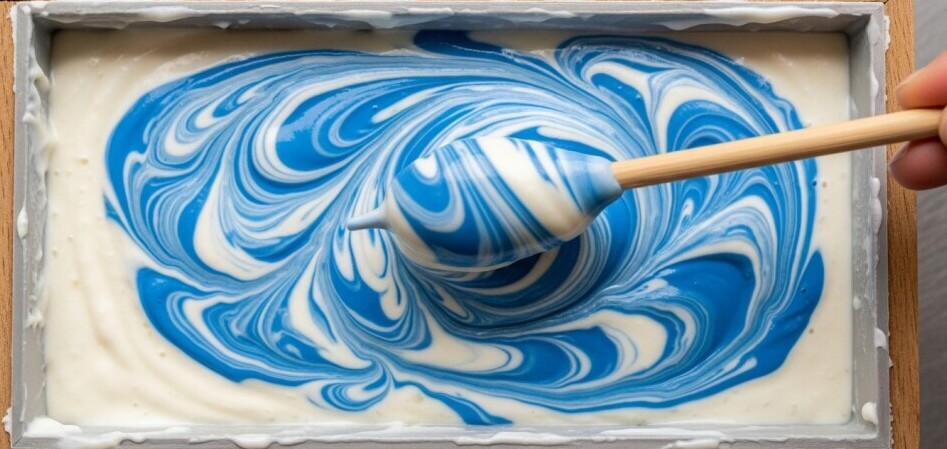
Insert your chopstick or skewer straight down into the soap and drag it gently through the layers. Move in figure-eights, spirals, or wavy lines. Try vertical or horizontal pulls for varied effects.

5. Finish and Insulate

Once you’re happy with the design, tap the mold lightly to release air bubbles. Cover and insulate for 24–48 hours before unmolding.

6. Cut and Cure

Cut your soap to reveal the beautiful internal swirls. Cure for 4–6 weeks to harden and mellow the bar.


Tips for Stunning Chopstick Swirls

  • Use thin trace for soft, fluid swirls.
  • Contrast colors (like white and indigo or gold and charcoal) for bold visual impact.
  • Clean your chopstick between swirls if colors start to muddy.
  • Practice on small batches to experiment with patterns.

Why You’ll Love This Technique

The chopstick swirl allows endless creativity—it’s like painting inside your soap mold! Each batch turns out unique, with fine marbling and flowing ribbons of color that make your bars look truly artisan. It’s a go-to swirl for soap makers who want high visual appeal with minimal tools.

© 2025 – 2026, Tes. All rights reserved.

Leave a Reply Cancel reply

Your email address will not be published. Required fields are marked *

Cold Process Soap Making

Want to make soap from scratch? This is the exact cold process method I use, broken down step by step.

Start the step-by-step soap tutorial »

  • Soap Additives For Cold Process Soap: Clays, Herbs, Milks, Sugar & More
  • DIY Natural Insect Repellent Recipe (That Actually Works)
  • 🍊 Sweet Orange Essential Oil Benefits, Uses & Soap Making Guide
  • 🌿 Peppermint Essential Oil Benefits, Uses & Soap Making Guide
  • Essential Oil Dilution Chart for Skin, Hair & Soap Making
  1. Tes on How to Make Rose Bath Salts05-18

    Hi Michel,  I did check and the recipe is one the page part way down.  Here is the link https://makingsoapnaturally.co...

  2. Tes on Using Natural Colors In Soap Making05-18

    Hi Alice, thanks for the comment.  I make a few different soaps with clays and I find that the color…

  3. Alice on Using Natural Colors In Soap Making05-17

    I’ve been curious about making soap with natural ingredients, and the section on botanical and clay colorants really caught my…

  4. Michel on How to Make Rose Bath Salts05-17

    I would really love to have this recipe for making a simple DIY rose bath, but the picture stops there…

  5. Tes on Essential Oil Dilution Chart for Skin, Hair & Soap Making05-16

    Thank you! You’re absolutely right that different essential oils produce different sized drops depending on thickness, bottle reducer, and even…

200x400

  • Privacy Policy

Recent Posts

  • Soap Additives For Cold Process Soap: Clays, Herbs, Milks, Sugar & More
  • DIY Natural Insect Repellent Recipe (That Actually Works)
  • 🍊 Sweet Orange Essential Oil Benefits, Uses & Soap Making Guide
  • 🌿 Peppermint Essential Oil Benefits, Uses & Soap Making Guide
  • Essential Oil Dilution Chart for Skin, Hair & Soap Making

Making Soap Naturally is a participant in the Amazon Services LLC Associates Program, an affiliate advertising program designed to provide a means for sites to earn advertising fees by advertising and linking to amazon.com

©2018 Making Soap Naturally

© 2026 Making Soap Naturally | Powered by Superbs Personal Blog theme