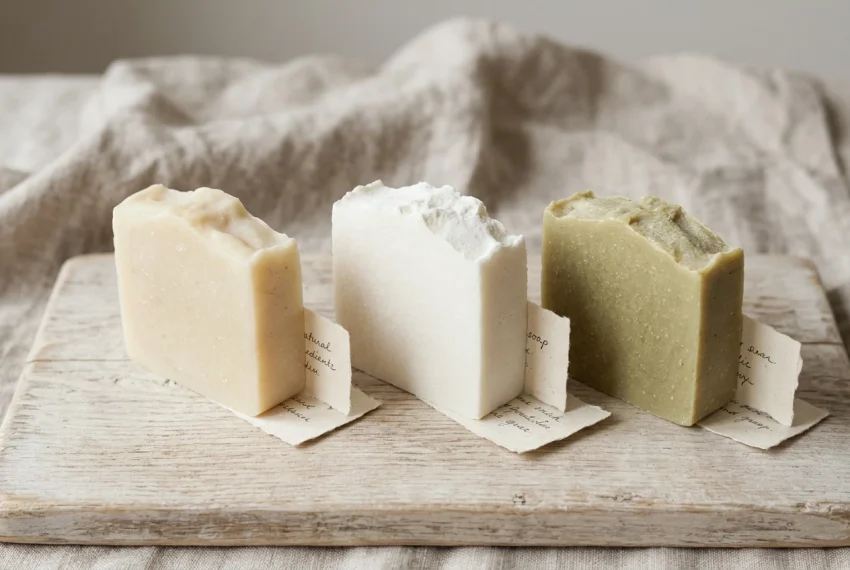
The usual way to learn soap making is to follow other people’s recipes, and that works until you want a bar that does something specific: lathers more, feels gentler, or holds up in a shower dish. Learning how to make your own soap recipe comes down to knowing what each oil contributes, how those contributions add up, and how to check your numbers before any lye is involved.
This guide goes through the decisions in the order a soap maker actually makes them. Every percentage below is a starting estimate to test, not a rule. Soap quality depends on your oils, your water, your cure, and your skin, so the aim is a first draft that you can improve.
Start with the bar you want, not the oils you own
The most common mistake in recipe design is starting with the cupboard: “I have olive oil, coconut oil, and some shea, so what can I make?” That gets you a bar, but not necessarily the one you wanted. Start with the bar’s job instead.
Write one or two sentences describing it. For example:
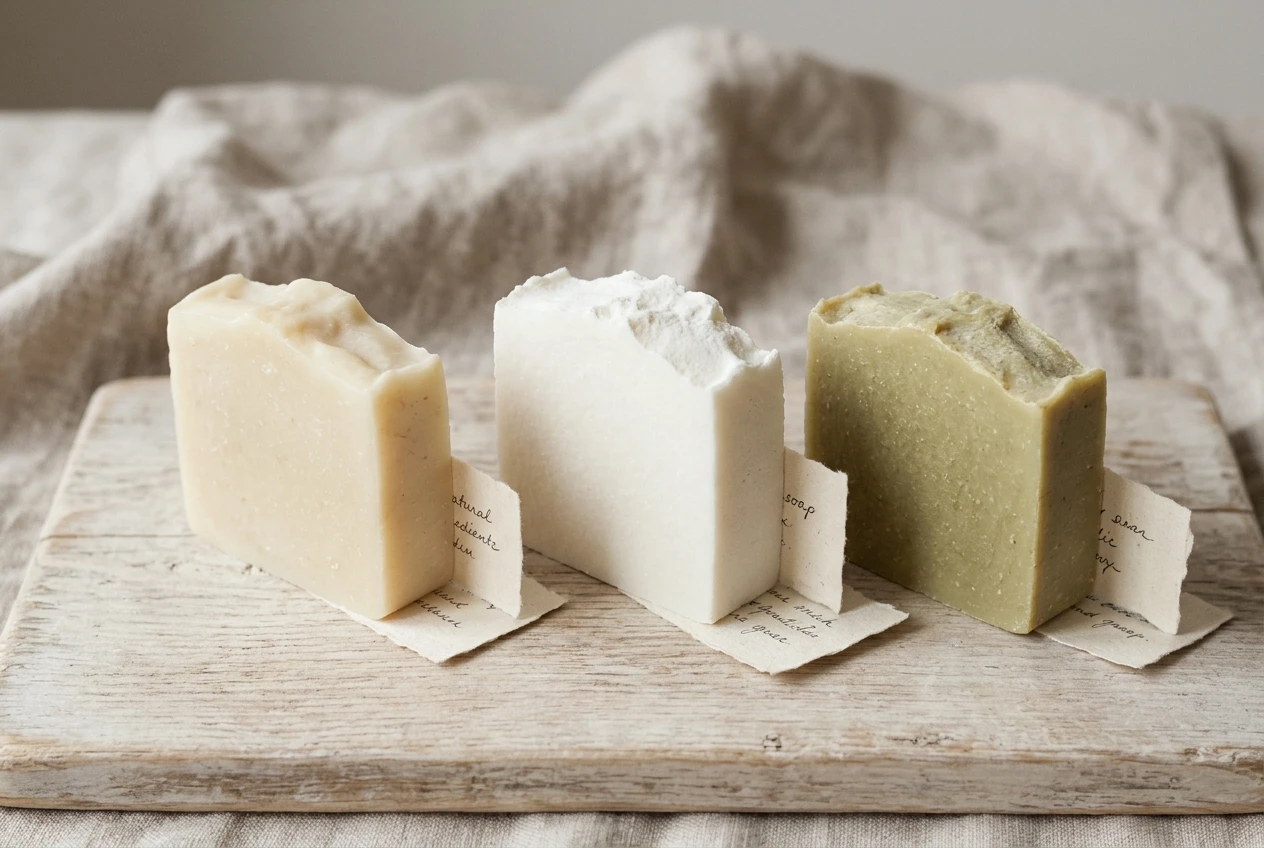
- A gentle facial-friendly bar for dry skin, with a creamy, low-bubble lather.
- A hard, long-lasting kitchen or workshop bar with big, fast lather.
- A mild everyday body bar that is firm enough to unmold after a day or two.
Each description points to different oils. A dry-skin bar leans on soft, conditioning oils and a higher superfat. A workshop bar leans on coconut oil and a hard fat. Writing the job down first gives you a reason to include or leave out an oil, which is what separates a designed recipe from a pile of ingredients.
Also, decide a few practical limits now: oils you want to avoid for ethical or allergy reasons, a budget per batch, and whether you want a plant-only recipe. If animal fats are on the table, the tallow soap recipe shows how a single-fat recipe is put together. Those limits shrink the list of oils you are choosing from.
Build the oil blend: hardness, lather, conditioning and what each oil contributes
Every oil in soap pulls the finished bar in some direction. Most recipe design is balancing four properties:
- Hardness: how firm the bar is and how well it resists turning to mush in a wet dish.
- Cleansing: how strongly it removes oils from skin. Too much feels stripping.
- Lather: bubbly (big, airy foam) and creamy (dense, lotion-like foam) are two different things.
- Conditioning: how soft and moisturised the skin feels afterward.
No single oil does everything, and some properties pull against each other. The most cleansing oils also tend to be the most drying, and the most conditioning oils tend to make a softer bar. A blend is a set of compromises.
Oils and what they tend to do
These are general tendencies, and exact behaviour varies with the oil’s source and freshness. For a longer rundown, see this list of the best soap making oils.
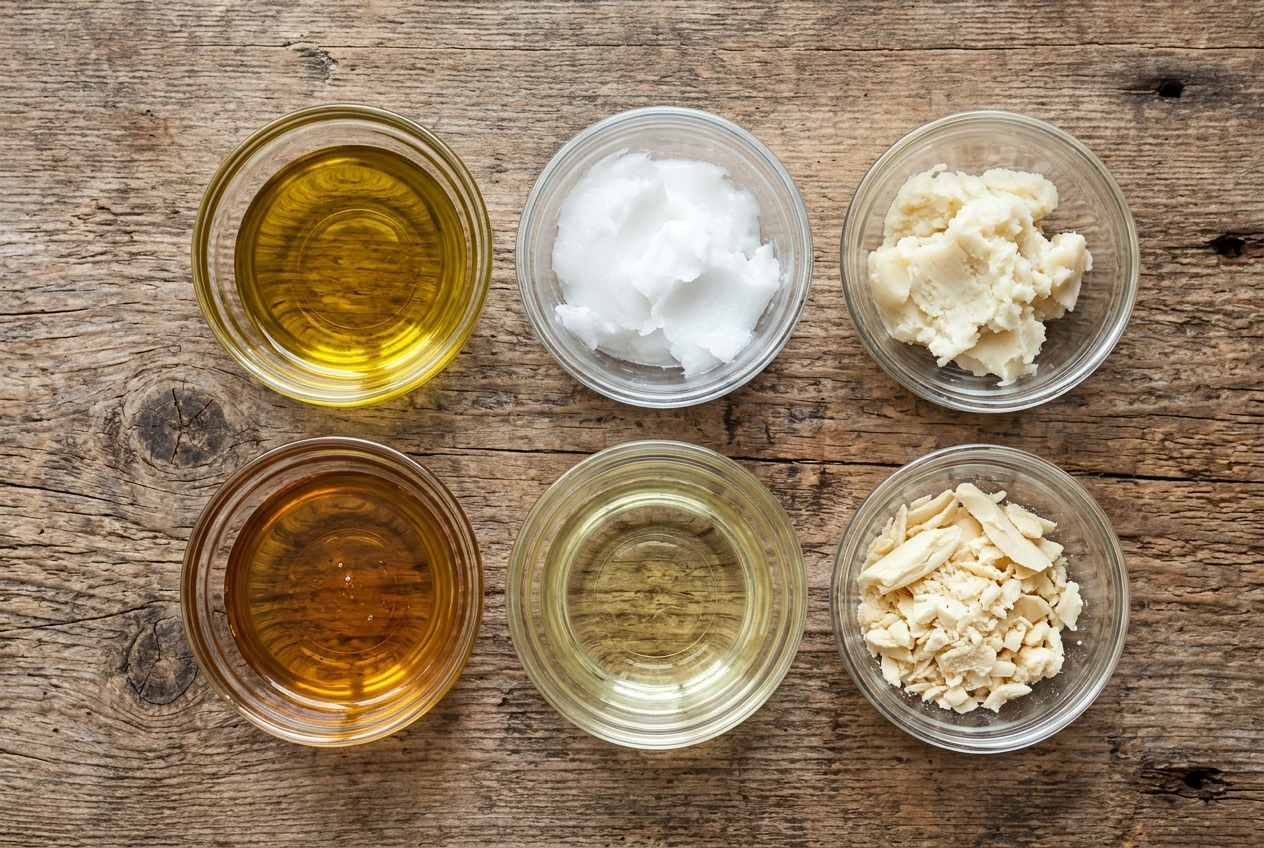
- Olive oil: conditioning and mild, with a low, creamy lather. Makes a gentle bar but traces slowly and gives a softer bar at high percentages, so it needs a longer cure.
- Coconut oil: hard, strongly cleansing, with big bubbly lather. Too much can leave skin feeling dry or tight.
- Castor oil: used in small amounts, it stabilises and thickens lather. At high percentages it makes bars sticky and soft.
- Shea butter and cocoa butter: add hardness and a conditioning, creamy feel. Cocoa butter is the firmer of the two.
- Sunflower, sweet almond, and other liquid oils: conditioning and inexpensive, but they add softness and, because they are higher in polyunsaturated fats, they tend to go rancid sooner than olive oil. Use them in modest amounts.
- Tallow or lard: a hard, stable, mild bar with a creamy lather, for makers who use animal fats.
A workable blend usually has a base oil for conditioning (often olive), a hard, cleansing oil for structure and bubbles (often coconut), a butter or hard fat for firmness, and a small amount of a lather booster such as castor.
If you’re experimenting with different oil combinations, shea butter and castor oil are two useful ingredients to have on hand when developing your own soap recipes.
Starting percentages: ranges to try first, and why they are estimates
Once you know the roles, you need amounts. The ranges below are commonly used starting points among soap makers, offered as estimates to test. They are not limits, and a recipe can work well outside them.
Role Example oil Common starting range (% of total oils) Conditioning base Olive oil 30 to 60 Hard, cleansing, bubbly Coconut oil 15 to 30 Hardness and creaminess Shea or cocoa butter 5 to 20 Lather stabiliser Castor oil 3 to 7 Extra conditioning Sunflower or sweet almond 0 to 15
These are estimates for a few reasons. The “right” amount of coconut oil depends on whether the bar is for your face or your hands. Climate matters, since a soft bar in a humid bathroom behaves differently from the same bar in dry air. And a cure of a few weeks changes the bar’s hardness, so a recipe that feels soft at one week may be fine at six.
Percentages are always a share of the total oil weight. Percentages of 100 give you a recipe you can scale to any batch size, which is why soap makers write recipes this way.
A worked example to adapt
Suppose the job is a mild everyday body bar. A first draft for a 500 gram oil batch might be:
- Olive oil: 45% (225 g)
- Coconut oil: 25% (125 g)
- Shea butter: 20% (100 g)
- Castor oil: 5% (25 g)
- Sunflower oil: 5% (25 g)
This is an illustration to show the method, not a recipe that is certain to suit you. The reasoning: olive oil provides most of the conditioning, coconut gives hardness and bubbles without dominating, shea adds firmness and a creamy feel, castor supports the lather, and a little sunflower adds conditioning at low cost. Change the job and the numbers change with it.
A reliable digital kitchen scale that measures in grams is one of the most useful tools for creating custom soap recipes. Accurate measurements make it easier to repeat a successful batch or adjust your formula later.
Choose a superfat and understand what it trades off
Superfat is the percentage of oils deliberately left unreacted, so some free oil stays in the finished bar. It is built in by using less lye than the oils could fully use. At 0% superfat, in theory all the oil becomes soap, and the bar can feel harsh. A superfat adds a margin of safety against a lye-heavy bar, and it leaves some oil to condition the skin.
A superfat of around 5% is a common starting point for beginners, and many makers work somewhere between 3% and 8%. Treat that range as an estimate. The trade-offs are:
- Lower superfat (0 to 3%): a harder bar with stronger cleansing and bubbles, but a higher chance of feeling drying, and less margin for measuring errors.
- Moderate superfat (5 to 8%): the usual balance of mildness and firmness for most body bars.
- Higher superfat (10% and above): a softer bar that feels richer, but with a greater chance of a greasy feel, softer texture, and orange spots from oils going rancid, because unreacted oil is what spoils.
There is one more reason to be careful with a high superfat. Extra free oil does not make the bar mild on its own, and a very high figure often just makes a soft bar that does not last. For a first design, pick 5% and change it only once you have a reason, such as the bar feeling too stripping or too soft.
Run the recipe through a lye calculator and check the output
This is the step that turns a list of oils into a safe recipe. Each oil needs a different amount of sodium hydroxide (lye) to turn into soap, and that amount is its saponification value. A lye calculator holds those values and does the arithmetic. Never estimate lye by hand or copy a lye figure from a recipe and then change the oils, because swapping even one oil changes the lye needed.
If you have not used one before, read how to use a soap lye calculator safely first. The process is:
- Choose your units and set the total oil weight (500 g in the example).
- Add each oil and enter its percentage or weight.
- Set the superfat.
- Select the lye type (sodium hydroxide for bar soap).
- Read the lye and water amounts it gives you.
What to check in the output
Before you move on, look at three things.
The totals. The oil weights should add up to the batch size you intended, and percentages should add up to 100. A typing slip here is a common source of bad batches.
The quality numbers. Most calculators estimate hardness, cleansing, conditioning, bubbly lather, creamy lather and others. These are predictions made from the oils’ typical fatty acid profiles, so they are estimates and not measurements. Many calculators suggest target ranges, and a design that falls inside most of them is usually reasonable. Hardness is often cited at around 29 to 54 and cleansing at roughly 12 to 22, but check the ranges in your own calculator and treat them as guidance.
The match to your job. Compare the numbers with your description from the start. If you wanted a mild bar and cleansing is at the top of the range, reduce the coconut oil and run it again.
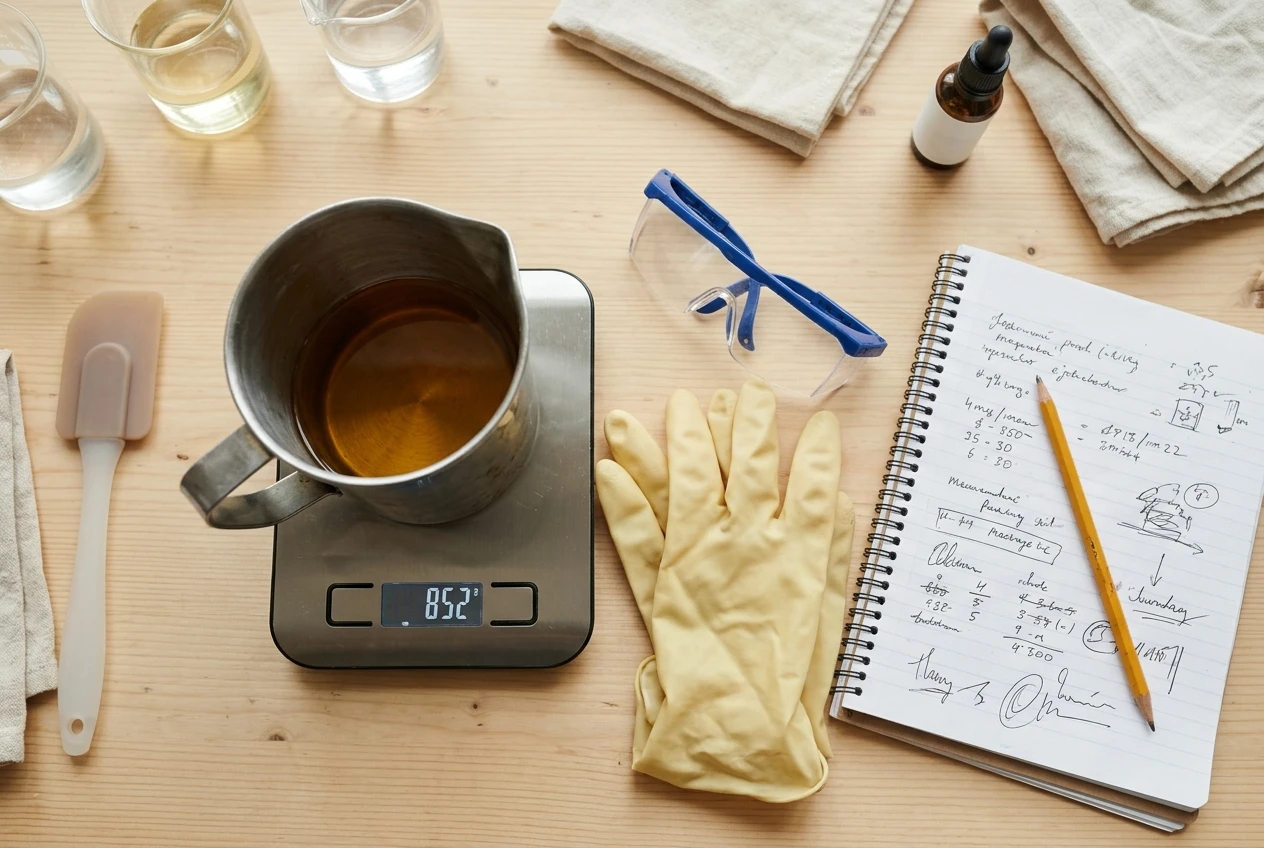
Always weigh ingredients in grams or ounces on a scale, never by volume. Wear gloves and goggles whenever you handle lye, and add lye to water, never water to lye.
Decide on water, additives, colour, and scent last
Water, additives, colour and scent change how the batch behaves and looks, but they do not define what the soap is. Leave them until the oils and lye are settled.
Water. Calculators let you set water as a percentage of oils, a lye concentration, or a water-to-lye ratio. A common lye concentration is around 25% to 33%, but treat that as an estimate to try. Less water makes a faster-setting, harder bar sooner, with less time before unmoulding. More water gives you longer to work, which helps with swirls, but a soft bar that needs longer to cure. If you are unsure, use your calculator’s default for the first batch.
Additives. Clays, herbs, milks, oatmeal and sugar can change the feel and the batch’s temperature behaviour. Some, like sugar and milk, can heat the batch up. The post on soap additives for cold process goes through the common ones. For a test batch, add at most one.
Colour. Natural colourants can fade or shift in the high pH of fresh soap, so results vary. Using natural colors in soap making covers what tends to hold up.
Scent. Essential oils are used at a limited percentage of the batch weight, and safe levels depend on the oil. The essential oil dilution chart is a good reference, and a recipe you design yourself should stay at or below the recommended usage for each oil. Some scents also speed up trace, so a first test batch is a good place to leave scent out or keep it simple.
Fragrance, colour and swirling add variables. If a batch goes wrong and you changed ten things, you cannot tell which one caused it. If your batch thickens suddenly, the guide on how to fix a seized soap batch explains what is happening.
Make a small test batch and keep notes you can learn from
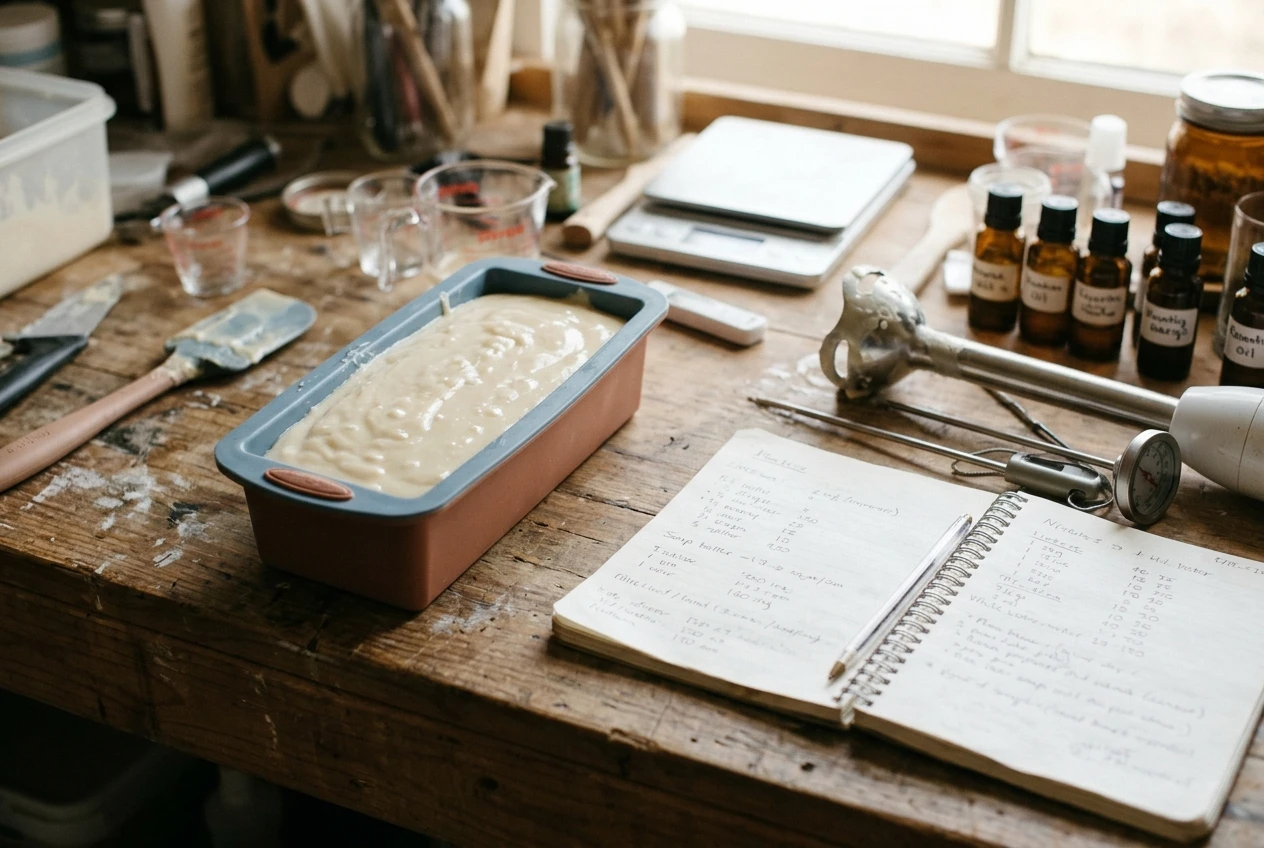
A new recipe deserves a small first batch. Around 500 grams of oils makes a few bars, enough to evaluate the recipe without wasting a large amount of ingredients if it fails. Use a mold you already know how to work with. A small silicone loaf mold or a few cavities will do, and the guide to silicone soap molds for beginners can help if you are choosing one.
A small silicone soap mold is handy when testing new recipes. You can make just a few bars without using large quantities of oils and butters while you experiment with your formula.
What to record
Notes turn one batch into information. Write down, at the time:
- The full recipe: each oil’s weight and percentage, superfat, lye, water and lye concentration.
- Your brand or source of each oil, since oils vary.
- Temperatures of the oils and the lye solution when you combined them.
- How long it took to reach trace and what it looked like. If you are unsure what to look for, what trace in soap making means explains it.
- Any additives, colour or scent, with amounts.
- When you unmoulded and how firm the bars were.
Label the bars with the batch date and number, and keep a copy of the recipe with them. A month later you will not remember what you changed.
Keeping a dedicated soap-making recipe notebook makes it easier to record your oil percentages, superfat, curing times and test results so you can improve your recipes with every batch.
Wait until the cure ends before judging. Soap usually needs several weeks to lose water and finish becoming mild, and how long handmade soap should cure covers the timing. Judging a bar at one week tells you little about the bar at six.
Adjust one variable at a time after the cure
After the cure, test the bar and compare it with your original description. Use it for a couple of weeks, in a real dish, with real water, and note what you notice:
- Lather: is it bubbly, creamy, thin or slippery?
- Feel after washing: tight, neutral or soft?
- Hardness: does it hold its shape, or turn mushy at the bottom of the dish?
- Appearance and smell: any orange spots, oily patches or a stale odour?
Then change one thing and make another small batch. Match the problem to the likely variable:
What you noticed One change to try Skin feels tight or dry Lower coconut oil a few points, or raise superfat slightly Bar is soft and wears down fast Raise the hard fat or butter, or lower the liquid oils Lather is thin Add a little castor, or raise coconut oil slightly Lather is bubbly but not creamy Add more olive oil or butter in place of some coconut Orange spots or stale smell Check oil freshness, reduce high-linoleic oils, or lower the superfat
These matches are starting guesses based on how the oils usually behave, and your results may differ. The rule is to change only one variable per batch, and by a modest amount, a few percentage points and not a dozen. That way, when the bar improves, you know why, and when it does not, you know what to undo.
After four or five rounds you will have a recipe that is yours, along with a notebook that explains why it is built the way it is. That record is also what lets you design the next bar faster, since you will already know how your oils, water and climate behave together.
Disclosure:
The information provided on this website is for educational purposes only and should not be considered professional advice. Always practice proper safety when making soap or skincare products.
This post may contain affiliate links. As an Amazon Associate, I earn from qualifying purchases at no additional cost to you.
© 2026, Tes. All rights reserved.