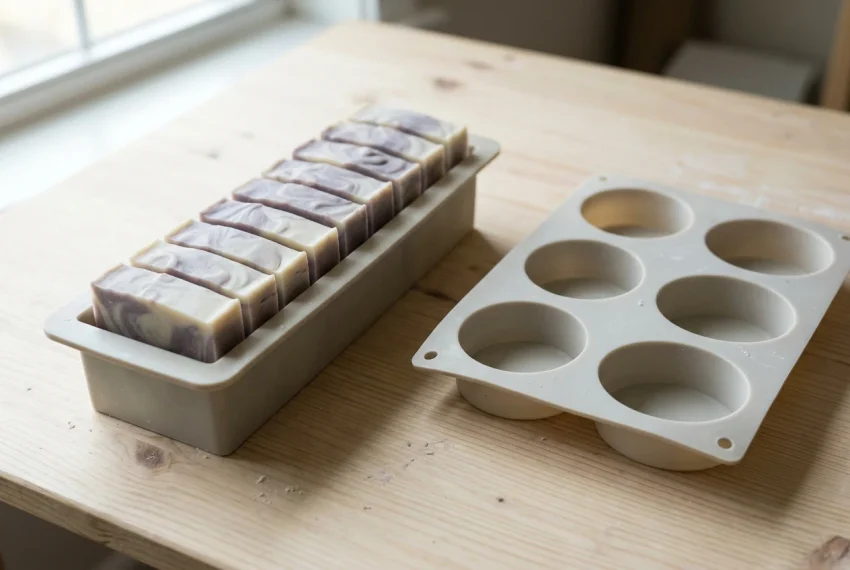
Most first-time soap makers buy molds before they have a recipe, and that is where the money goes wrong. A mold has a fixed volume, a recipe produces a certain weight of batter, and the two have to match. This guide covers the mold decision only: which silicone molds earn their space, how to size them, and what to buy first. The best silicone soap molds for beginners are the ones that fit the batches you will actually make.
Why Silicone Suits a First-Time Soap Maker (and Where It Falls Short)
Silicone is the forgiving choice for a first batch. Cured soap peels away from it without a liner, so you skip the step of cutting and folding freezer paper. The mold is reusable, washes in hot soapy water, and comes in loaf, slab, and cavity shapes, so you can start with one and add others later.
It also has real drawbacks, and knowing them helps you pick well:
- Floppiness. A thin, soft loaf mold bulges when you fill it. The long sides bow outward, and the finished bars come out curved instead of square.
- Little insulation. Wood holds heat in. Silicone does not, so soap in a thin silicone mold may cool faster and gel less than the same batter in a wooden box. That changes color and texture a little, and it matters more for some recipes than others.
- Scent and oil residue. Silicone can hold onto fragrance and oils. A mold used for a strongly scented batch may smell faintly of it for a while after washing.
- Wobble when you move it. A full silicone mold sags as you lift it. Set it on a baking tray or board before you fill it, and carry it that way.
None of these are reasons to avoid silicone. They are reasons to choose a sturdier mold and to support it.
- Why Silicone Suits a First-Time Soap Maker (and Where It Falls Short)
- Loaf Molds Versus Individual Cavity Molds: Which One to Buy First
- What to Check Before You Buy: Flexibility, Wall Thickness, Seams, and Cleaning
- Matching Mold Size to Batch Size
- Swirl-Friendly Molds: What Shape Helps the Techniques You May Try Later
- Do You Need a Wooden Box or a Liner as Well?
- Unmolding Silicone Soap Without Ruined Edges
- A Sensible Starter Shopping List for One Mold, Two Molds, and a Small Set
- Your Next Step
Loaf Molds Versus Individual Cavity Molds: Which One to Buy First
Buy a silicone loaf soap mold first. A loaf is a long rectangular block that you cut into bars after the soap firms up. It takes the whole batch in one pour, which is simpler than dividing batter between many small cavities while it thickens in the pot. Soap batter keeps thickening as you work, so a single pour into one cavity is the more forgiving way to learn. If you want to understand how thickening affects pouring, the guide on what trace is in soap making explains what to look for.
Cavity molds make individual bars in a set shape: rounds, rectangles, ovals, or novelty shapes. They have advantages:
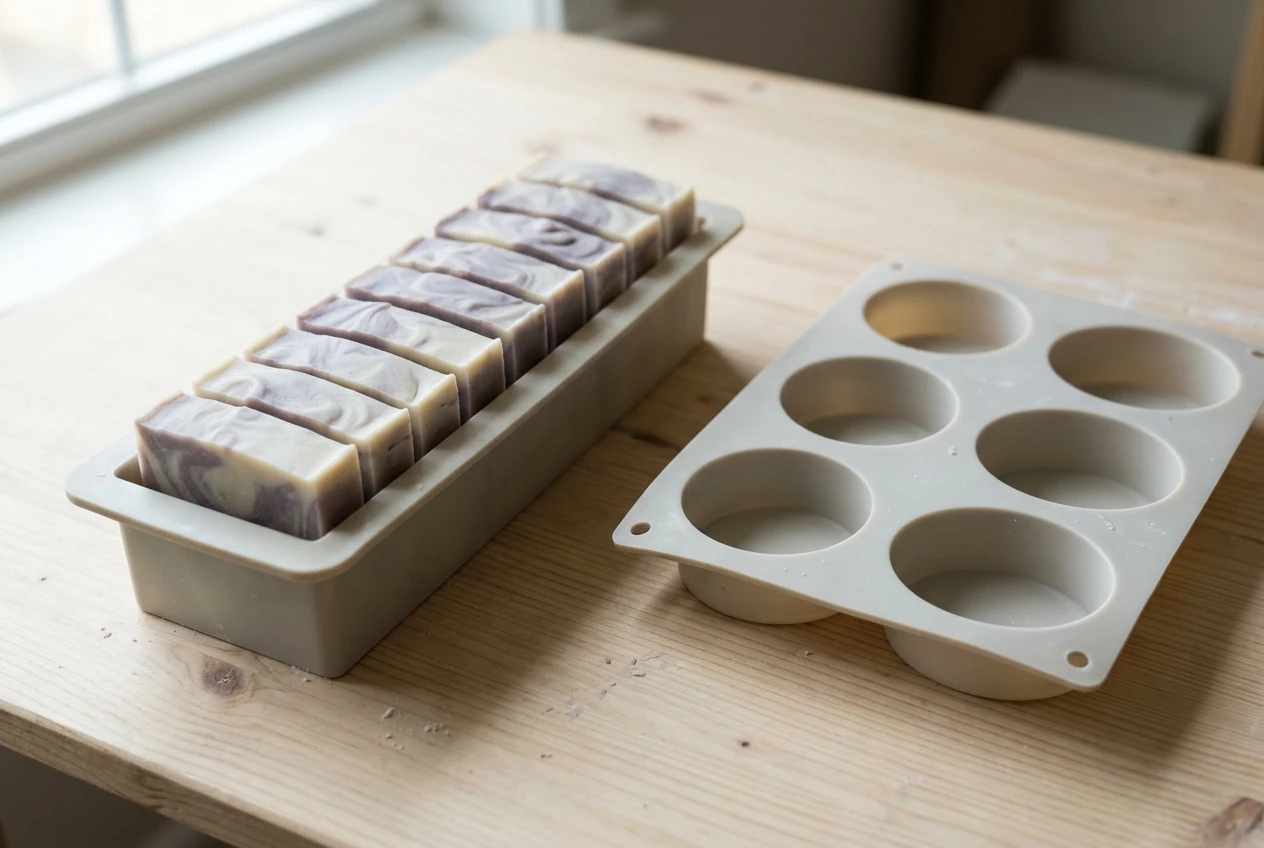
- No cutting, so no uneven slices.
- Every bar has the same shape and roughly the same weight.
- Small cavities are good for testing a new additive or scent in a few bars.
They also have costs. Each cavity must be filled before the batter gets too thick, and the batter has to be fairly fluid to reach the details of an intricate design. Detailed shapes can trap soap in the corners and tear when you unmold them. A batch that does not fill every cavity leaves you with partial bars and a batter surplus or shortfall to deal with.
For a first purchase, the loaf wins because it handles any batch size within its range. Add a simple silicone cavity mold second, with shapes such as a plain rectangle or round, before you try anything elaborate.
What to Check Before You Buy: Flexibility, Wall Thickness, Seams, and Cleaning
Product photos make all silicone molds look alike. These are the details worth checking in the description, reviews, and photos.
Flexibility and wall thickness
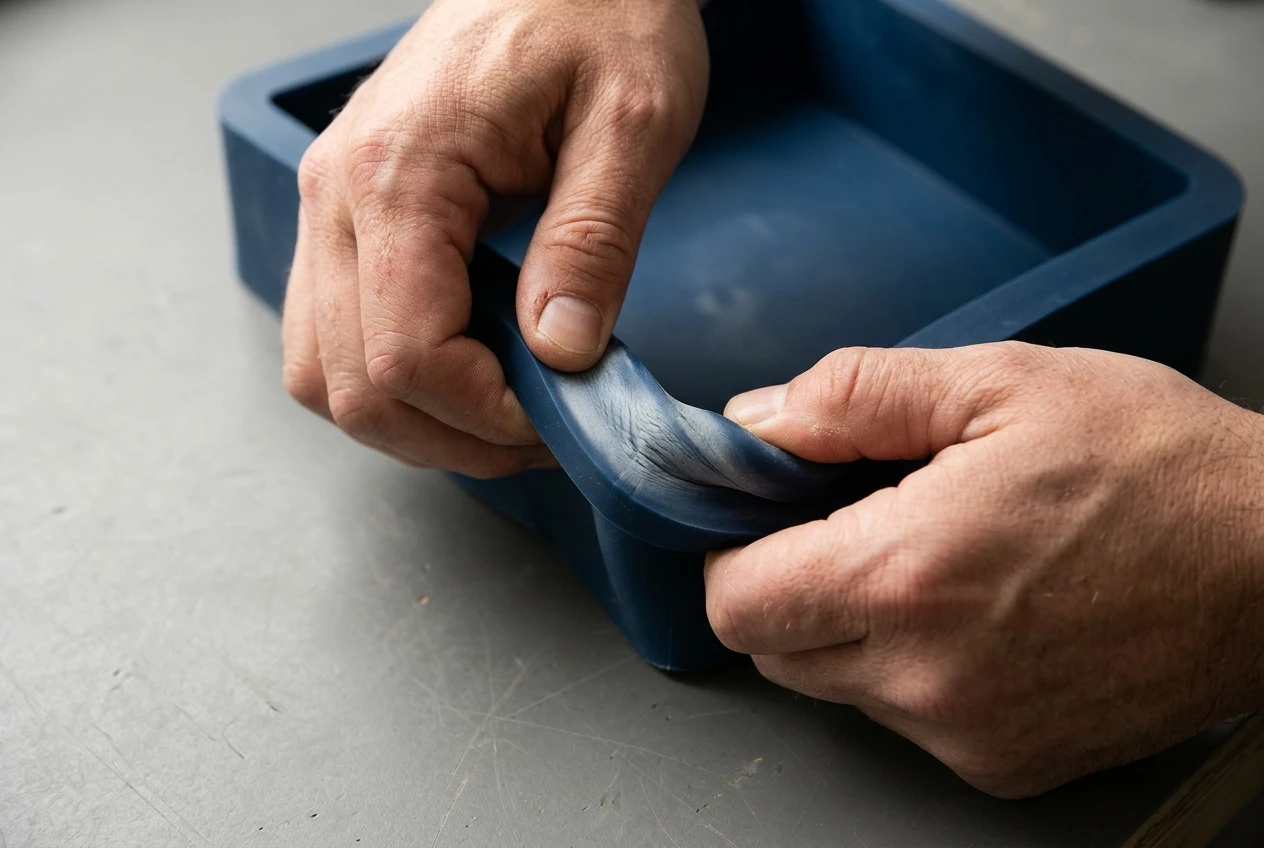
You want a mold that is flexible enough to peel but stiff enough to hold its shape when full. Thicker walls resist bulging. When reviews mention bowed sides or bars that look “pregnant,” treat that as a warning for a loaf mold. If you can find a silicone loaf mold sold with a rigid outer frame or a matching wooden or cardboard box, the sides will stay straight.
Seams and corners
Look at the inside corners. Clean, sharp corners give bars with clean edges. Rounded or rough corners trap soap and make unmolding harder. A mold made from one molded piece is easier to clean than one with a visible seam where batter can collect.
Surface finish
Glossy interior walls give shiny soap sides, and matte or textured walls give matte sides. Neither is better, but if you want smooth bars, choose a smooth interior.
Food-grade labeling and cleaning
Many sellers advertise food-grade silicone. That label tells you something about the material, but the practical question is cleaning: wash the mold with hot water and dish soap after each use and let it dry fully. Do not reuse soap molds for food, since they may keep scent and oil residue.
Capacity
This is the check that matters most, covered next.
Matching Mold Size to Batch Size
A mold’s capacity is the weight or volume of batter it holds. A recipe’s batch size is the weight of oils, lye solution, and any additives combined. If the batch is bigger than the mold, you have leftover batter and nowhere to put it. If it is much smaller, the bars come out short or thin.
To measure the mold yourself:
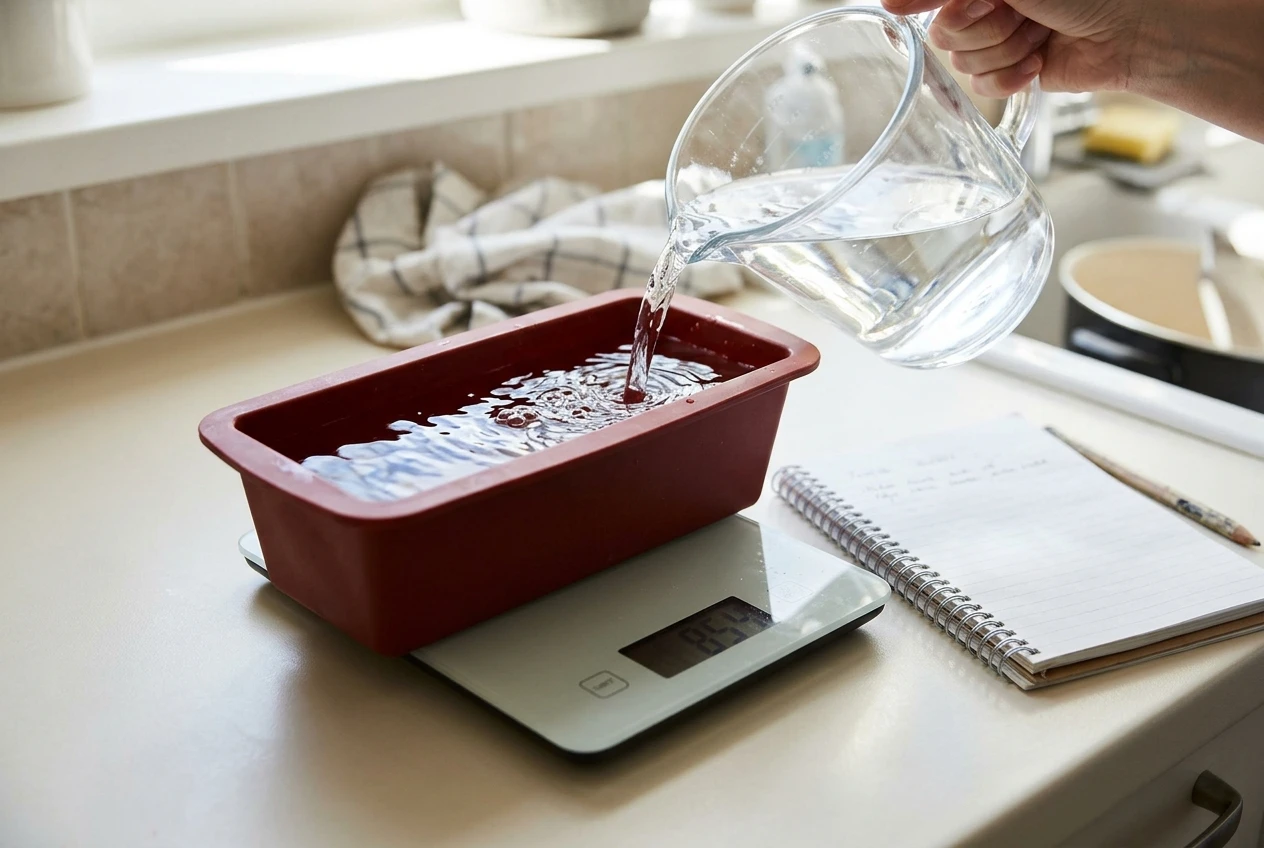
- Place the empty mold on a digital kitchen scale and zero it.
- Fill it with water to the level you would pour soap, leaving a little room at the top.
- Read the weight of the water in grams. Since 1 gram of water equals approximately 1 mL, this tells you the mold’s volume. Soap batter is generally denser than water, so divide your recipe’s total batter weight by approximately 1.1 to estimate how many millilitres of space it will need. This is only an estimate, as density varies by recipe.
Compare that number to your recipe. A lye calculator tells you how much lye and water your oils need, and the total batter is the oils plus the lye solution plus additives. Because the total is larger than the oil weight alone, a recipe sized by oil weight can overfill a mold that seems big enough. The article on using a soap lye calculator safely covers the calculator side of this.
Adjust the recipe to the mold you own, not the other way around. If your first mold holds less than your recipe makes, scale the recipe down in the calculator and recheck the weights. Some makers keep a small cavity mold nearby for leftover batter, which is a good use of a second mold.
Swirl-Friendly Molds: What Shape Helps the Techniques You May Try Later
If you plan to try swirls eventually, mold shape affects how well they show. The relevant features are length, width, and depth.
- A wide, shallow mold shows more of the design on the top surface. Techniques that work on top, such as a chopstick or skewer drawn through colored batter, look best here. The chopstick or skewer swirl tutorial shows what these lines look like.
- A tall, narrow loaf shows the design inside the bar when you cut it. Layered and in-the-pot swirls reveal their pattern in the cross-section, so slice thickness and the mold’s height matter more than the surface.
- Straight, smooth sides keep a pattern clean at the edge. Rounded or tapered walls bend the pattern as the soap settles.
A plain rectangular loaf covers most of these techniques, so you do not need a special swirl mold. If you want a head start on what to try, the layered swirl technique is a sensible place to begin because it relies on the same simple loaf shape you will already own.
Do You Need a Wooden Box or a Liner as Well?
With silicone, a liner is not needed, because the soap releases without one. A supporting box is optional but useful, especially for a thin loaf mold.
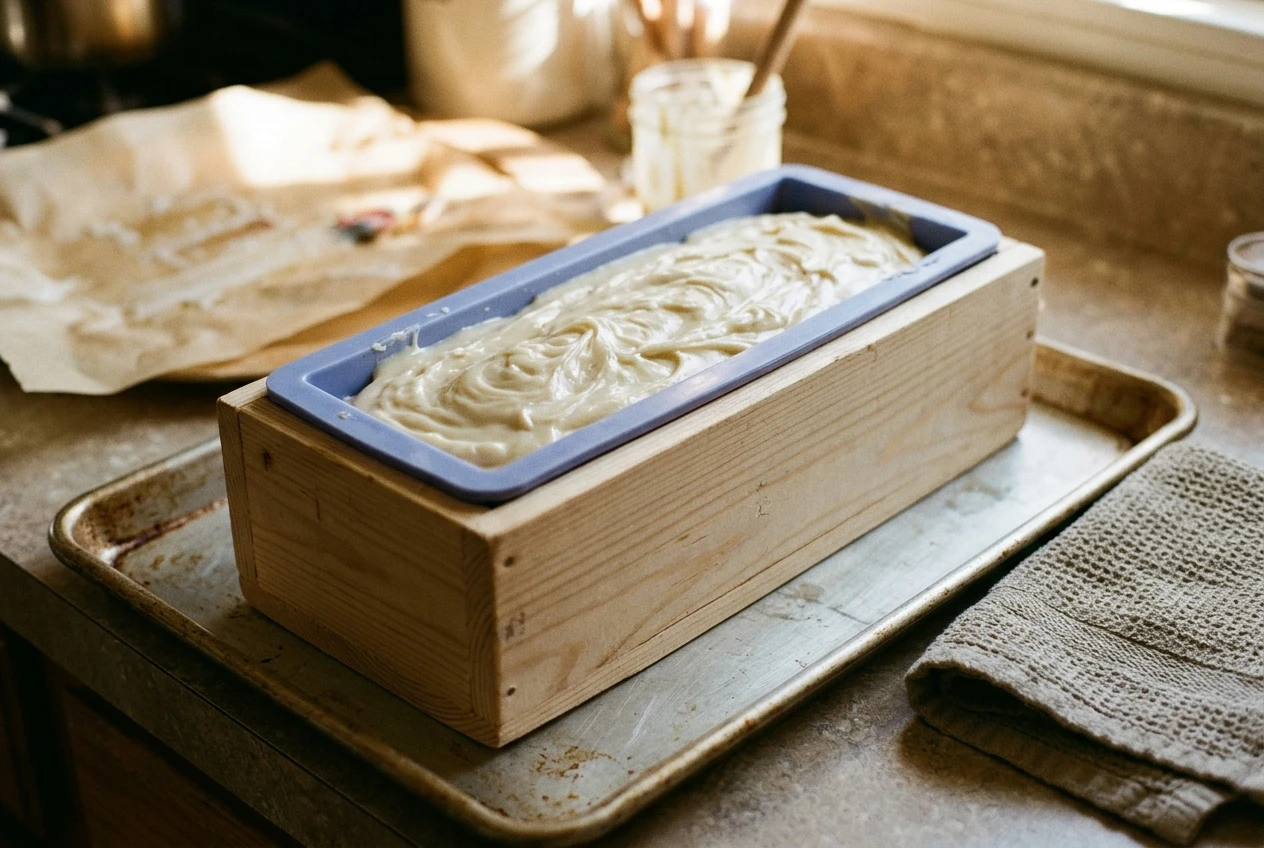
A wooden box or a snug cardboard box around the mold keeps the sides straight and adds a little insulation, which helps if you want the soap to gel. If you do not own one, a rigid baking tray under the mold and a few books or boxes pressed against the long sides can hold the walls in place while the soap sets. Check that nothing deforms the mold, and keep the mold level.
If you buy a silicone soap mold with a wooden box, that is a convenient pairing for a first purchase.
Unmolding Silicone Soap Without Ruined Edges
Edges tear when the soap is unmolded too early. Silicone makes it easy to remove soap, but it does not make soft soap firm.
- Wait until the soap is firm. For many recipes this is a day or two, but soft recipes, such as ones with a lot of liquid oil or added liquids, can need longer. Press a fingertip lightly on the surface (wear gloves, since fresh soap is still caustic). If it dents, wait.
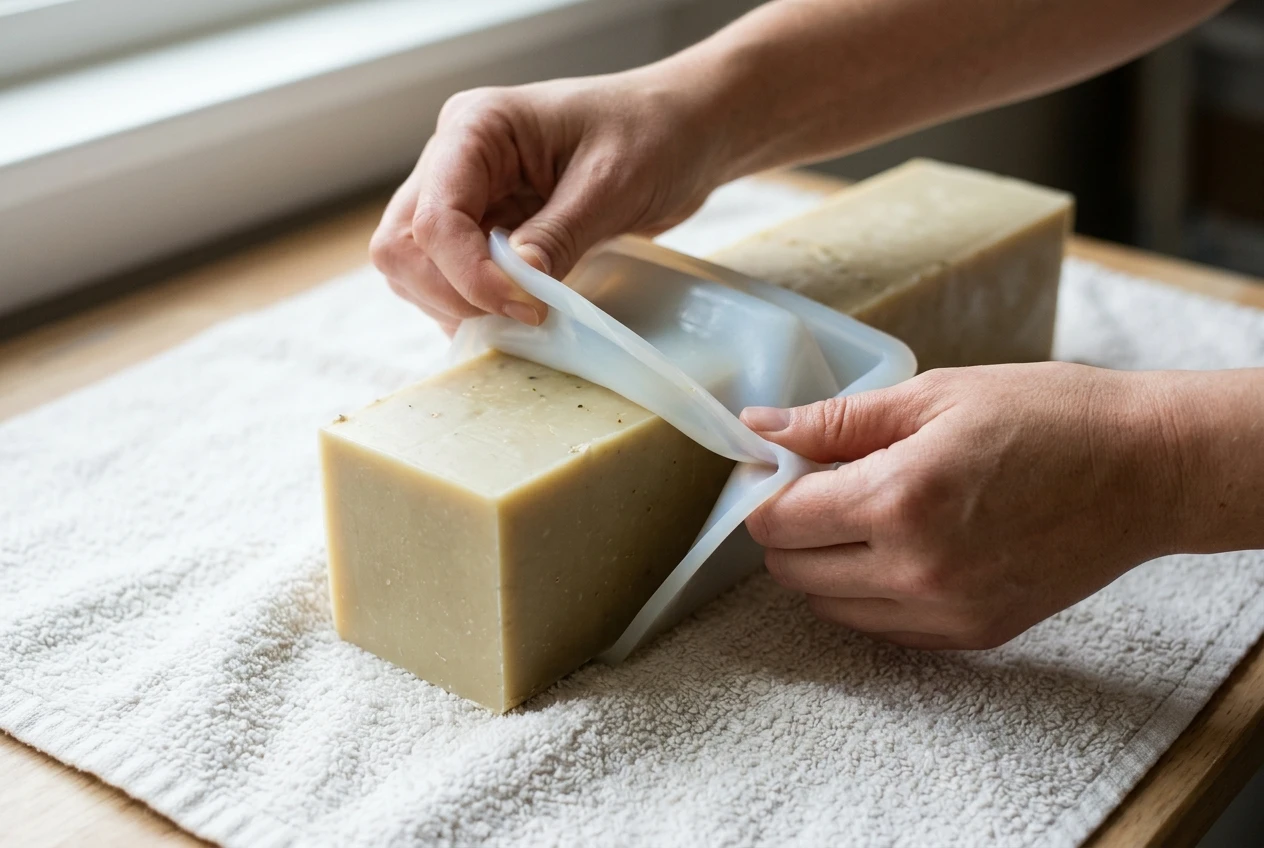
- Peel the mold away from the soap. Do not push the soap out from the bottom. Pull the silicone sideways and down from each edge, working around the loaf, so the soap stays whole.
- Use the freezer if it is stubborn. A few hours in the freezer firms soft soap enough to release cleanly. Let it come back to room temperature before cutting so it does not crack. Note that cold can interfere with gel, so use this only when you are happy with the soap’s look without full gel.
- Cut with a straight, steady stroke using a soap cutter. Mark the bars first so the slices are even.
Cut bars still need time to dry and harden. The guide on how long handmade soap should cure covers that stage.
A Sensible Starter Shopping List for One Mold, Two Molds, and a Small Set
If you buy one mold: a silicone loaf mold with thick walls and straight sides, sized to fit the batch from your first recipe. Weigh its water capacity before you commit to a recipe, and size the recipe to the mold.
If you buy two molds: the loaf above plus a small cavity mold with a simple shape, such as a plain rectangle or round. Use the cavity mold for leftover batter and for testing a new additive or scent without committing a full batch.
If you buy a small set: a loaf mold, a simple cavity mold, and a second loaf of a different width or depth. The second loaf gives you a way to compare how mold shape affects thickness and swirl patterns, and it lets you make two batches in one session. Add a supporting box or tray if the walls bow.
Skip the novelty shapes until you have made a few loaves. Detailed molds ask for fluid batter and careful handling, and they are less useful for learning how a recipe behaves.
Your Next Step
Pick one loaf mold, work out your batch size with a lye calculator, and make your first bar. Then read How To Use A Soap Lye Calculator Safely before your next purchase.
Disclosure:
The information provided on this website is for educational purposes only and should not be considered professional advice. Always practice proper safety when making soap or skincare products.
This post may contain affiliate links. As an Amazon Associate, I earn from qualifying purchases at no additional cost to you.
© 2026, Tes. All rights reserved.