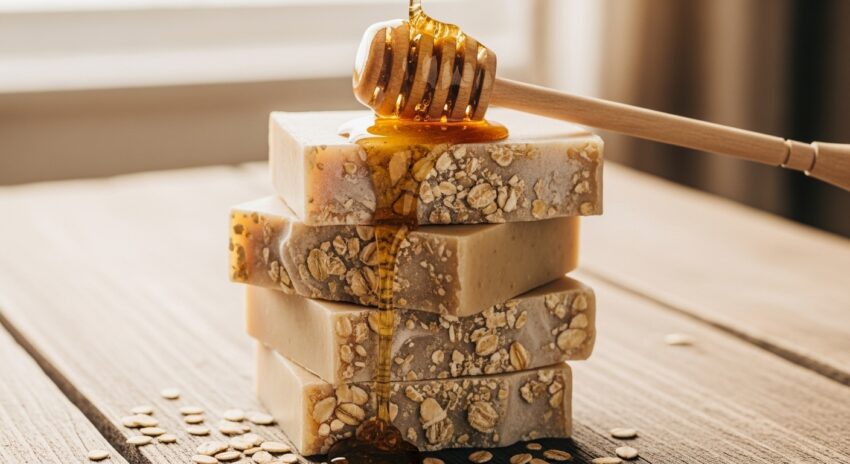
The scent of raw honey and the gentle touch of oatmeal make homemade oatmeal honey soap a real favorite for both beginners and seasoned soap makers. I keep a stash of these bars in my bathroom because they’re calming, super gentle, and make my skin feel nourished after every wash. Whether you’re tackling dry winter skin or just love that simple, wholesome touch, this soap is worth adding to your DIY projects list. Plus, it’s a project you can really personalize, from adding your favorite essential oils to shaping fun bars for gifts.
This recipe covers both the cold process soap method and a quick melt and pour version, so you can pick whichever matches your comfort level or schedule. The ingredients are easy to find, and the steps are straightforward even if you’ve never made soap before. I also included info about cure time so your soap turns out just right. If you’re brand new, you’ll get all the basics, and you can build on them with your own creative twists as you get more confident.
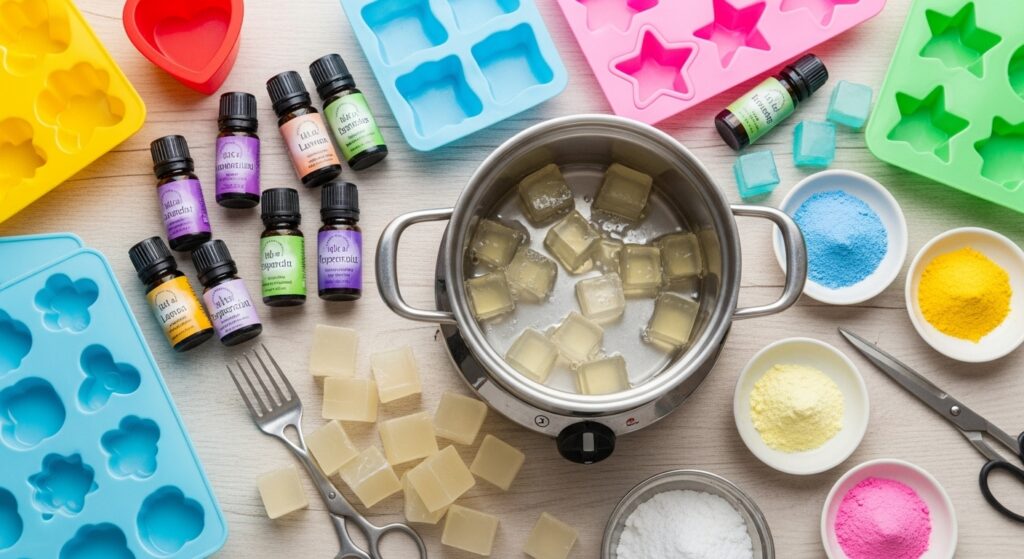
🧼 Tools Used in This Guide
These are the exact tools I use or recommend for safe, consistent soap making:
If you’re just getting started, I also have a complete breakdown of essential soap making tools for beginners that explains what’s truly necessary and what’s optional.
Benefits of Oatmeal Honey Soap
- Soothes sensitive skin: Oatmeal is calming and helps ease irritation and dryness.
- Moisturizes naturally: Honey draws in moisture, leaving skin soft and smooth.
- Gentle exfoliation: Oatmeal buffs away rough spots without irritation.
- Simple ingredients: No synthetic fragrances — just pantry staples.
- Creamy lather: Oils and honey create a rich, luxurious foam.
Ingredients You’ll Need
Here’s a handy shopping list for cold process oatmeal honey soap. (For melt and pour, details are in the next section.)
- 12 oz olive oil
- 8 oz coconut oil
- 6 oz shea butter or cocoa butter
- 4 oz castor oil
- 4 oz organic rolled oats, finely ground
- 2 tbsp raw honey
- 9 oz distilled water
- 3.8 oz lye (100% sodium hydroxide; don’t substitute)
- Optional: 10–20 drops lavender or chamomile essential oil
Tip: Run the oils and lye through a soap calculator if swapping out any oils to keep your ratios safe and accurate.
Cold Process Oatmeal Honey Soap Recipe
1. Set Up & Safety First
Prep your work area with gloves and protective glasses. Make sure your molds (silicone works great) and materials are all ready to go. Lay out parchment or freezer paper for easier cleanup later.
If you’re new to working with lye, I recommend reading my beginner-friendly guide on soap making safety and lye handling so you feel confident and prepared before starting.
2. Prepare the Lye Solution
Slowly add lye to the distilled water in a heat-safe container (never pour water into lye). Stir until dissolved. Make sure you’re in a well-ventilated space and do not breathe the fumes. Let the solution cool to about 100–110°F.
3. Warm the Oils
Melt the coconut oil and shea (or cocoa) butter in a large bowl. Add olive and castor oils to the melted mixture. Allow the oils to cool until they’re around the same temperature as your lye solution (100–110°F works well).
4. Mix Lye & Oils
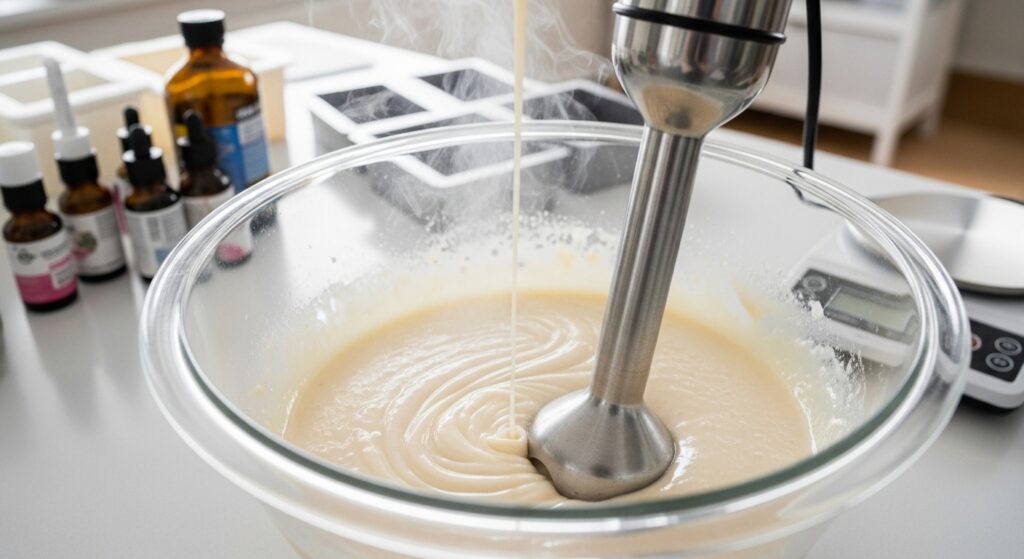
Slowly add the cooled lye solution to your oils. Use an immersion blender to combine the two until the mix thickens to a light trace. It will look a bit like pudding or thick custard at this stage, and you’ll notice it leaves faint trails on the surface when you drizzle it.
5. Add Oatmeal & Honey
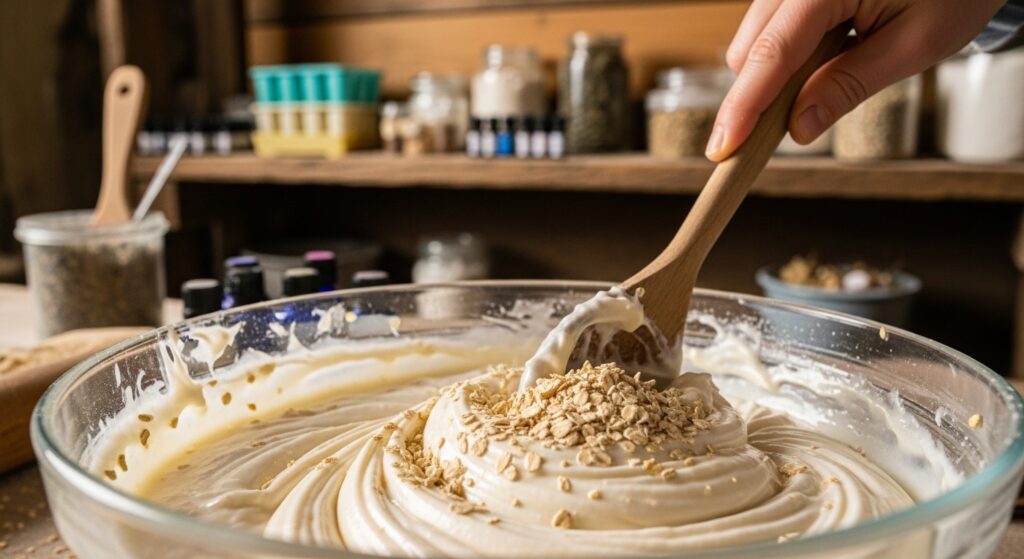
Mix in the finely ground oats and raw honey. Both will blend smoothly at this stage.
If you’re adding essential oils, now is the time. Gently combine everything until it’s evenly mixed.
Not all essential oils behave the same in soap, so I recommend choosing ones known to hold their scent well in cold process recipes.
6. Pour & Insulate
Pour the soap batter into your prepared molds. Tap down to release any bubbles, then cover the molds lightly with a towel or plastic wrap. This keeps the temperature steady and helps the soap saponify.
7. Unmold & Cure
Let the soap sit for 24–48 hours before unmolding. Slice into bars if needed. Cure your soap bars in a cool, dry spot with good airflow for at least 4–6 weeks. This process helps the soap get harder and milder, making it perfect for everyday use.
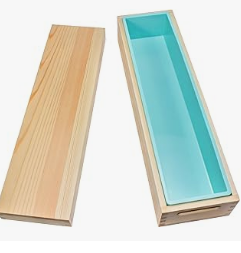 A Wooden Soap Mold lined with a removable silicone liner makes unmolding and cleanup much easier.
Melt and Pour Oatmeal Honey Soap Option
This version is great for quick gifts or if you want to skip the lye handling. Kids can get involved with supervision too!
- 1 lb unscented melt and pour soap base (goat milk, shea, or clear glycerin)
- 1/3 cup rolled oats, finely chopped
- 2 tbsp raw honey
- Optional: a few drops of essential oil
Chop your soap base into cubes and melt it in the microwave (short bursts) or a double boiler, stirring until smooth. Mix in the oats, honey, and optional oils. Pour the blend into molds. Let them cool and harden for at least 2–4 hours, then pop out and use right away—there’s no need to wait for curing.
Oatmeal Honey Soap Tips & Variations
- For a bar that scrubs more, leave some oats whole; for a smoother bar, grind them up fine.
- Switch up the oils; sunflower or sweet almond oil both work beautifully and give the soap new qualities.
- Add your favorite scents like cinnamon, clove, or even orange zest—just use spices sparingly so they don’t irritate skin.
- Wrap each finished soap bar in paper or wax wrap to keep them dry and fresh. Hand-tied labels also make them look next-level cool for gifting.
- Try using silicone cupcake molds or fun shapes for soap bars that are playful and eye-catching.
Optional Supplies That Make Soap Making Easier
These aren’t required, but they can improve consistency and ease cleanup:
-
Infrared thermometer
If this is your first cold process recipe, take your time and enjoy the process — soap making gets easier (and more fun) with every batch.
Frequently Asked Questions
Q: Why does oatmeal honey soap need to cure?
During curing, excess water evaporates leaving the soap milder and harder. Cold process soaps are usually ready for use after at least 4 weeks of curing, but many makers give them 6 weeks or longer for an extra creamy lather that feels amazing on skin.
Q: Can I use quick oats instead of rolled oats?
Absolutely! Quick oats offer a lovely texture. Just grind them down so they blend in easily and don’t scratch sensitive skin.
Q: Is raw honey sticky in soap?
Once blended and saponified, the honey is not sticky at all. Instead, it helps give the soap a creamy lather and locks in mass moisture for soft, nourished skin.
Q: Any special storage tips?
Keep your bars dry between uses to make them last longer. A soap dish that drains well is your best friend, especially in humid bathrooms.
Share Your Oatmeal Soap Creations!
I always love to see what creative twists people bring to their own oatmeal honey soap. If you try this recipe, drop a comment or share your favorite tweaks—maybe you switched up the oils or blended in new scents. Have fun soaping, and enjoy the nourished, clean feel after each wash!
Important Note:
This information is for educational purposes only.
This post may contain affiliate links. If you make a purchase through these links, I may earn a small commission at no extra cost to you.
Updated Jan 2026
© 2025 – 2026, Tes. All rights reserved.
I love how this post breaks down the benefits of handcrafted oatmeal honey soap compared to commercial options. The natural ingredients like oats and honey sound perfect for soothing sensitive skin and adding moisture without any harsh chemicals. I also appreciate that it offers both cold process and melt & pour methods—makes it accessible whether you’re a beginner or more experienced. Have you noticed a big difference in how your skin feels when switching from store-bought soaps to homemade ones? And do you have a favorite essential oil to add for a personal touch?
Hi yes I do notice a difference on my skin. I used to get excema really bad and now I seldom have an outbreak. I think my favorite scent is Lemongrass.